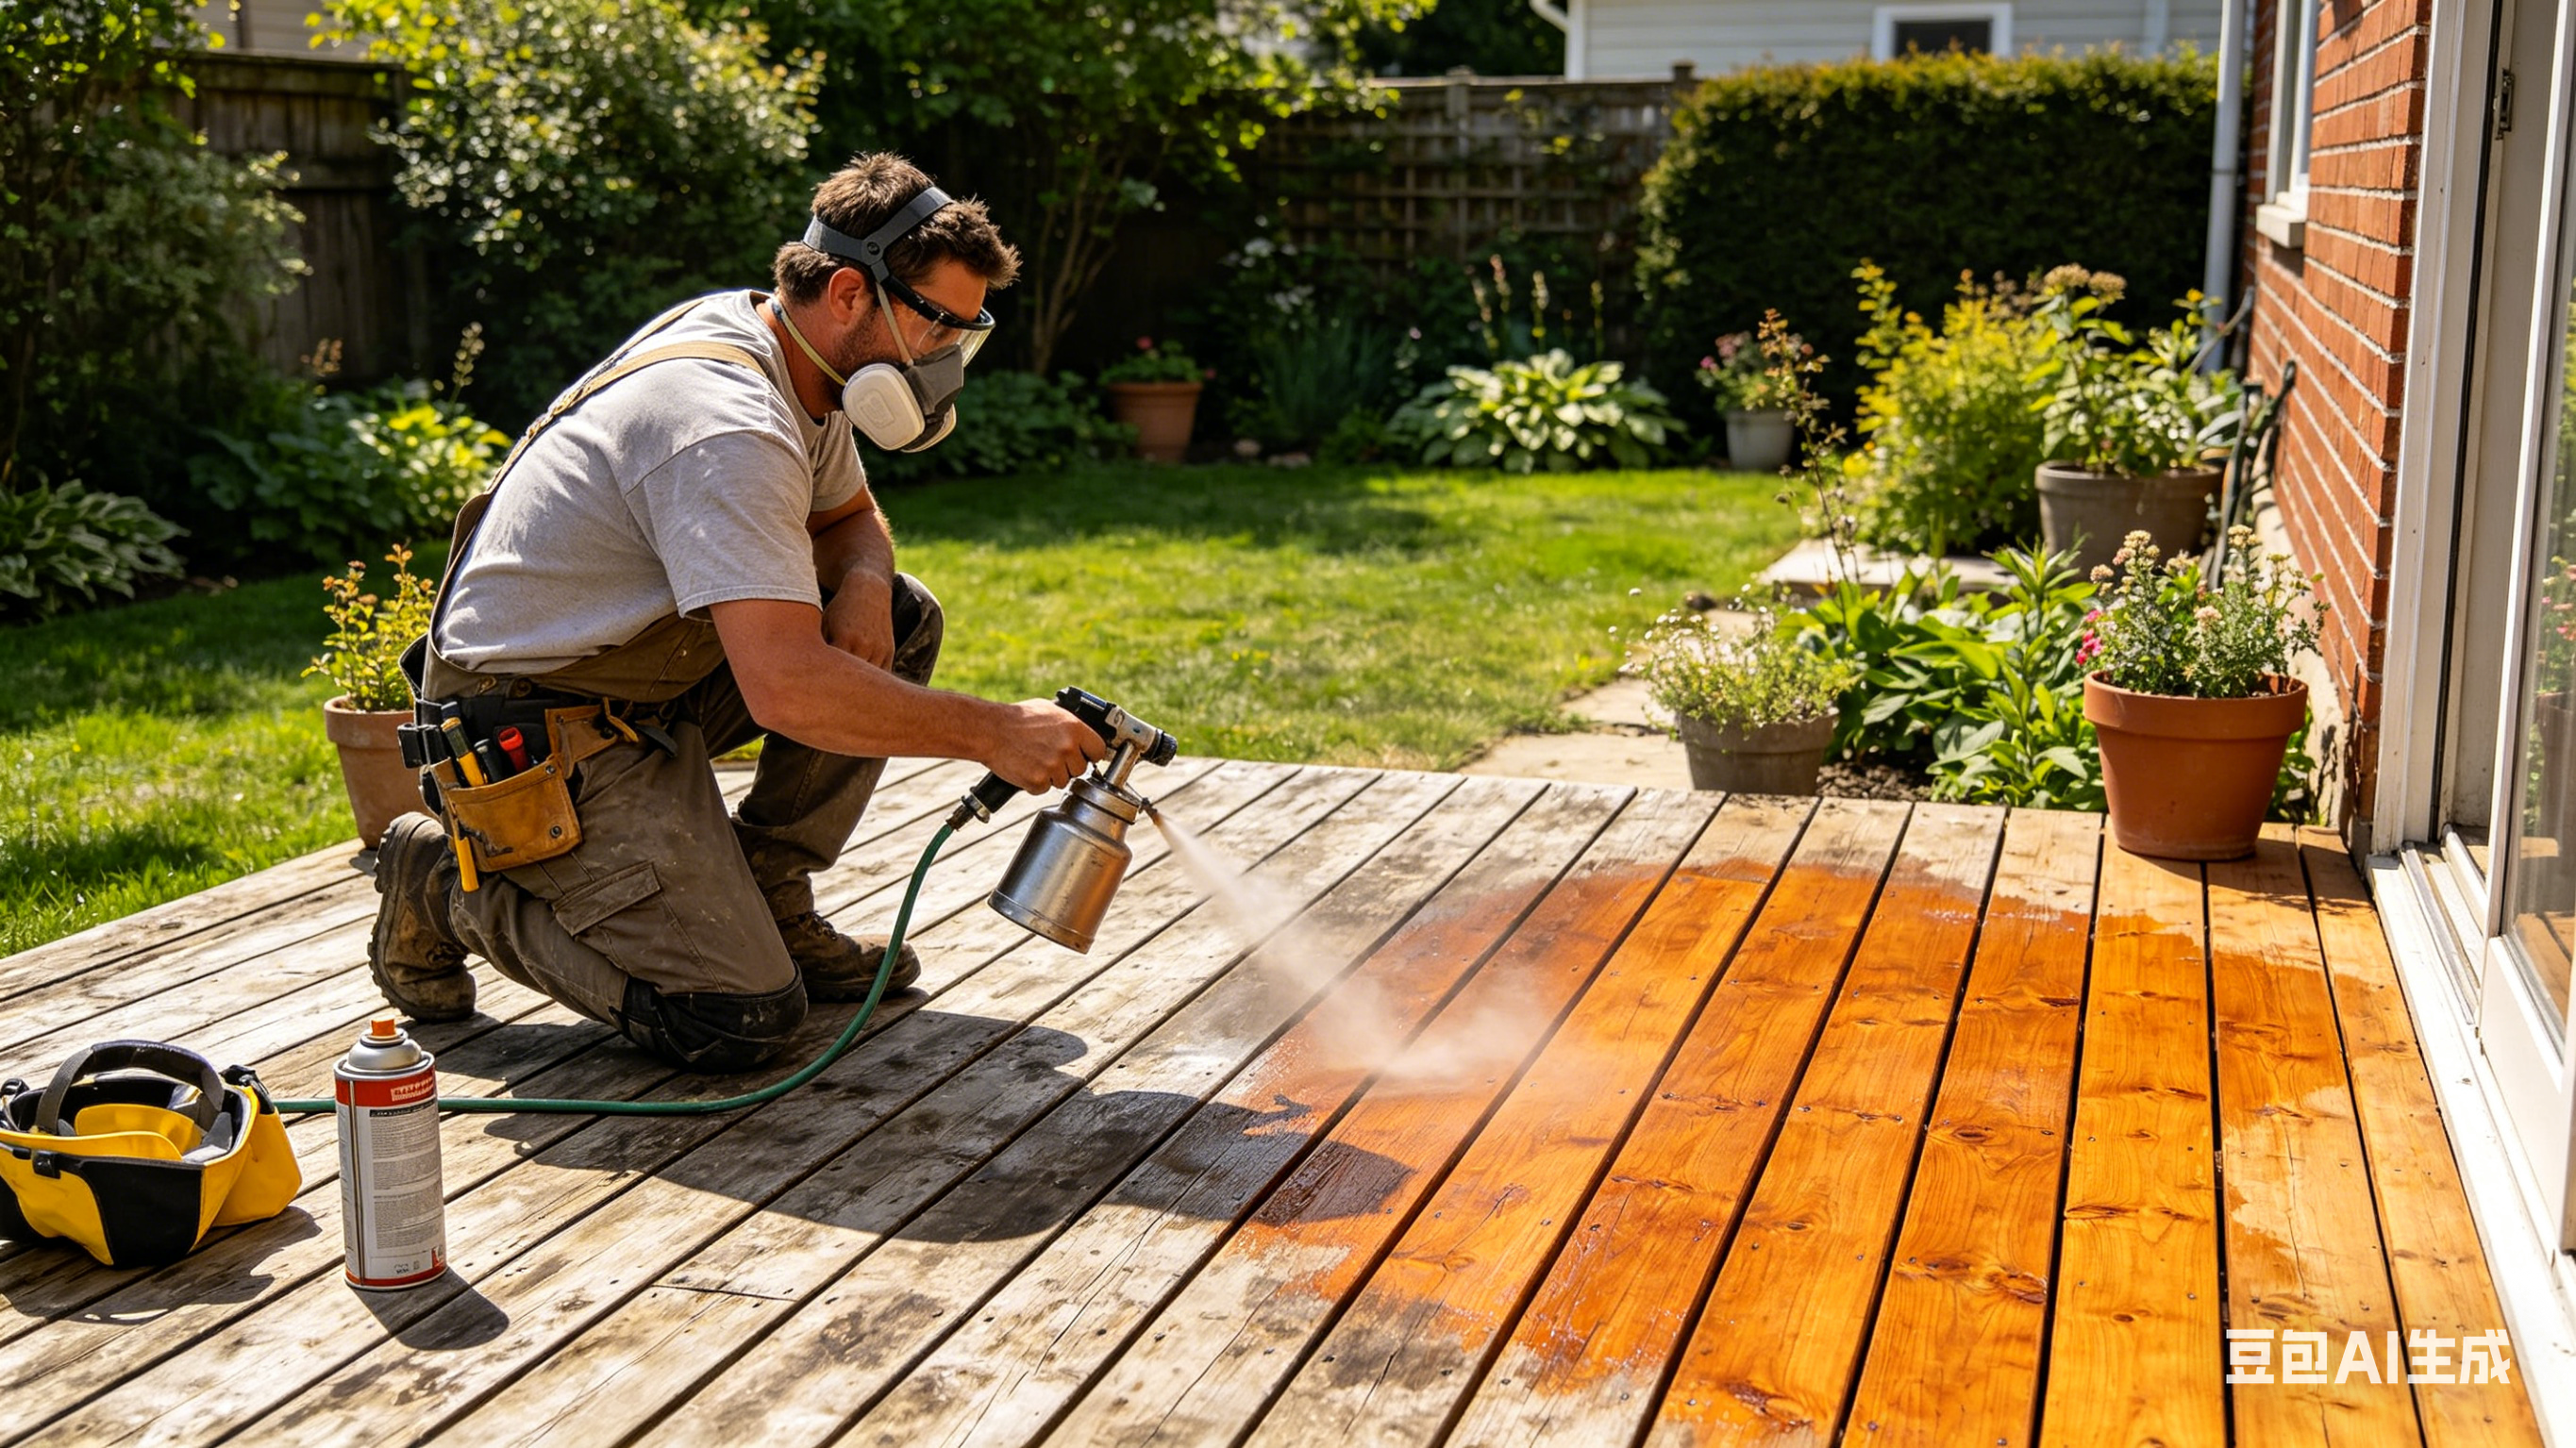
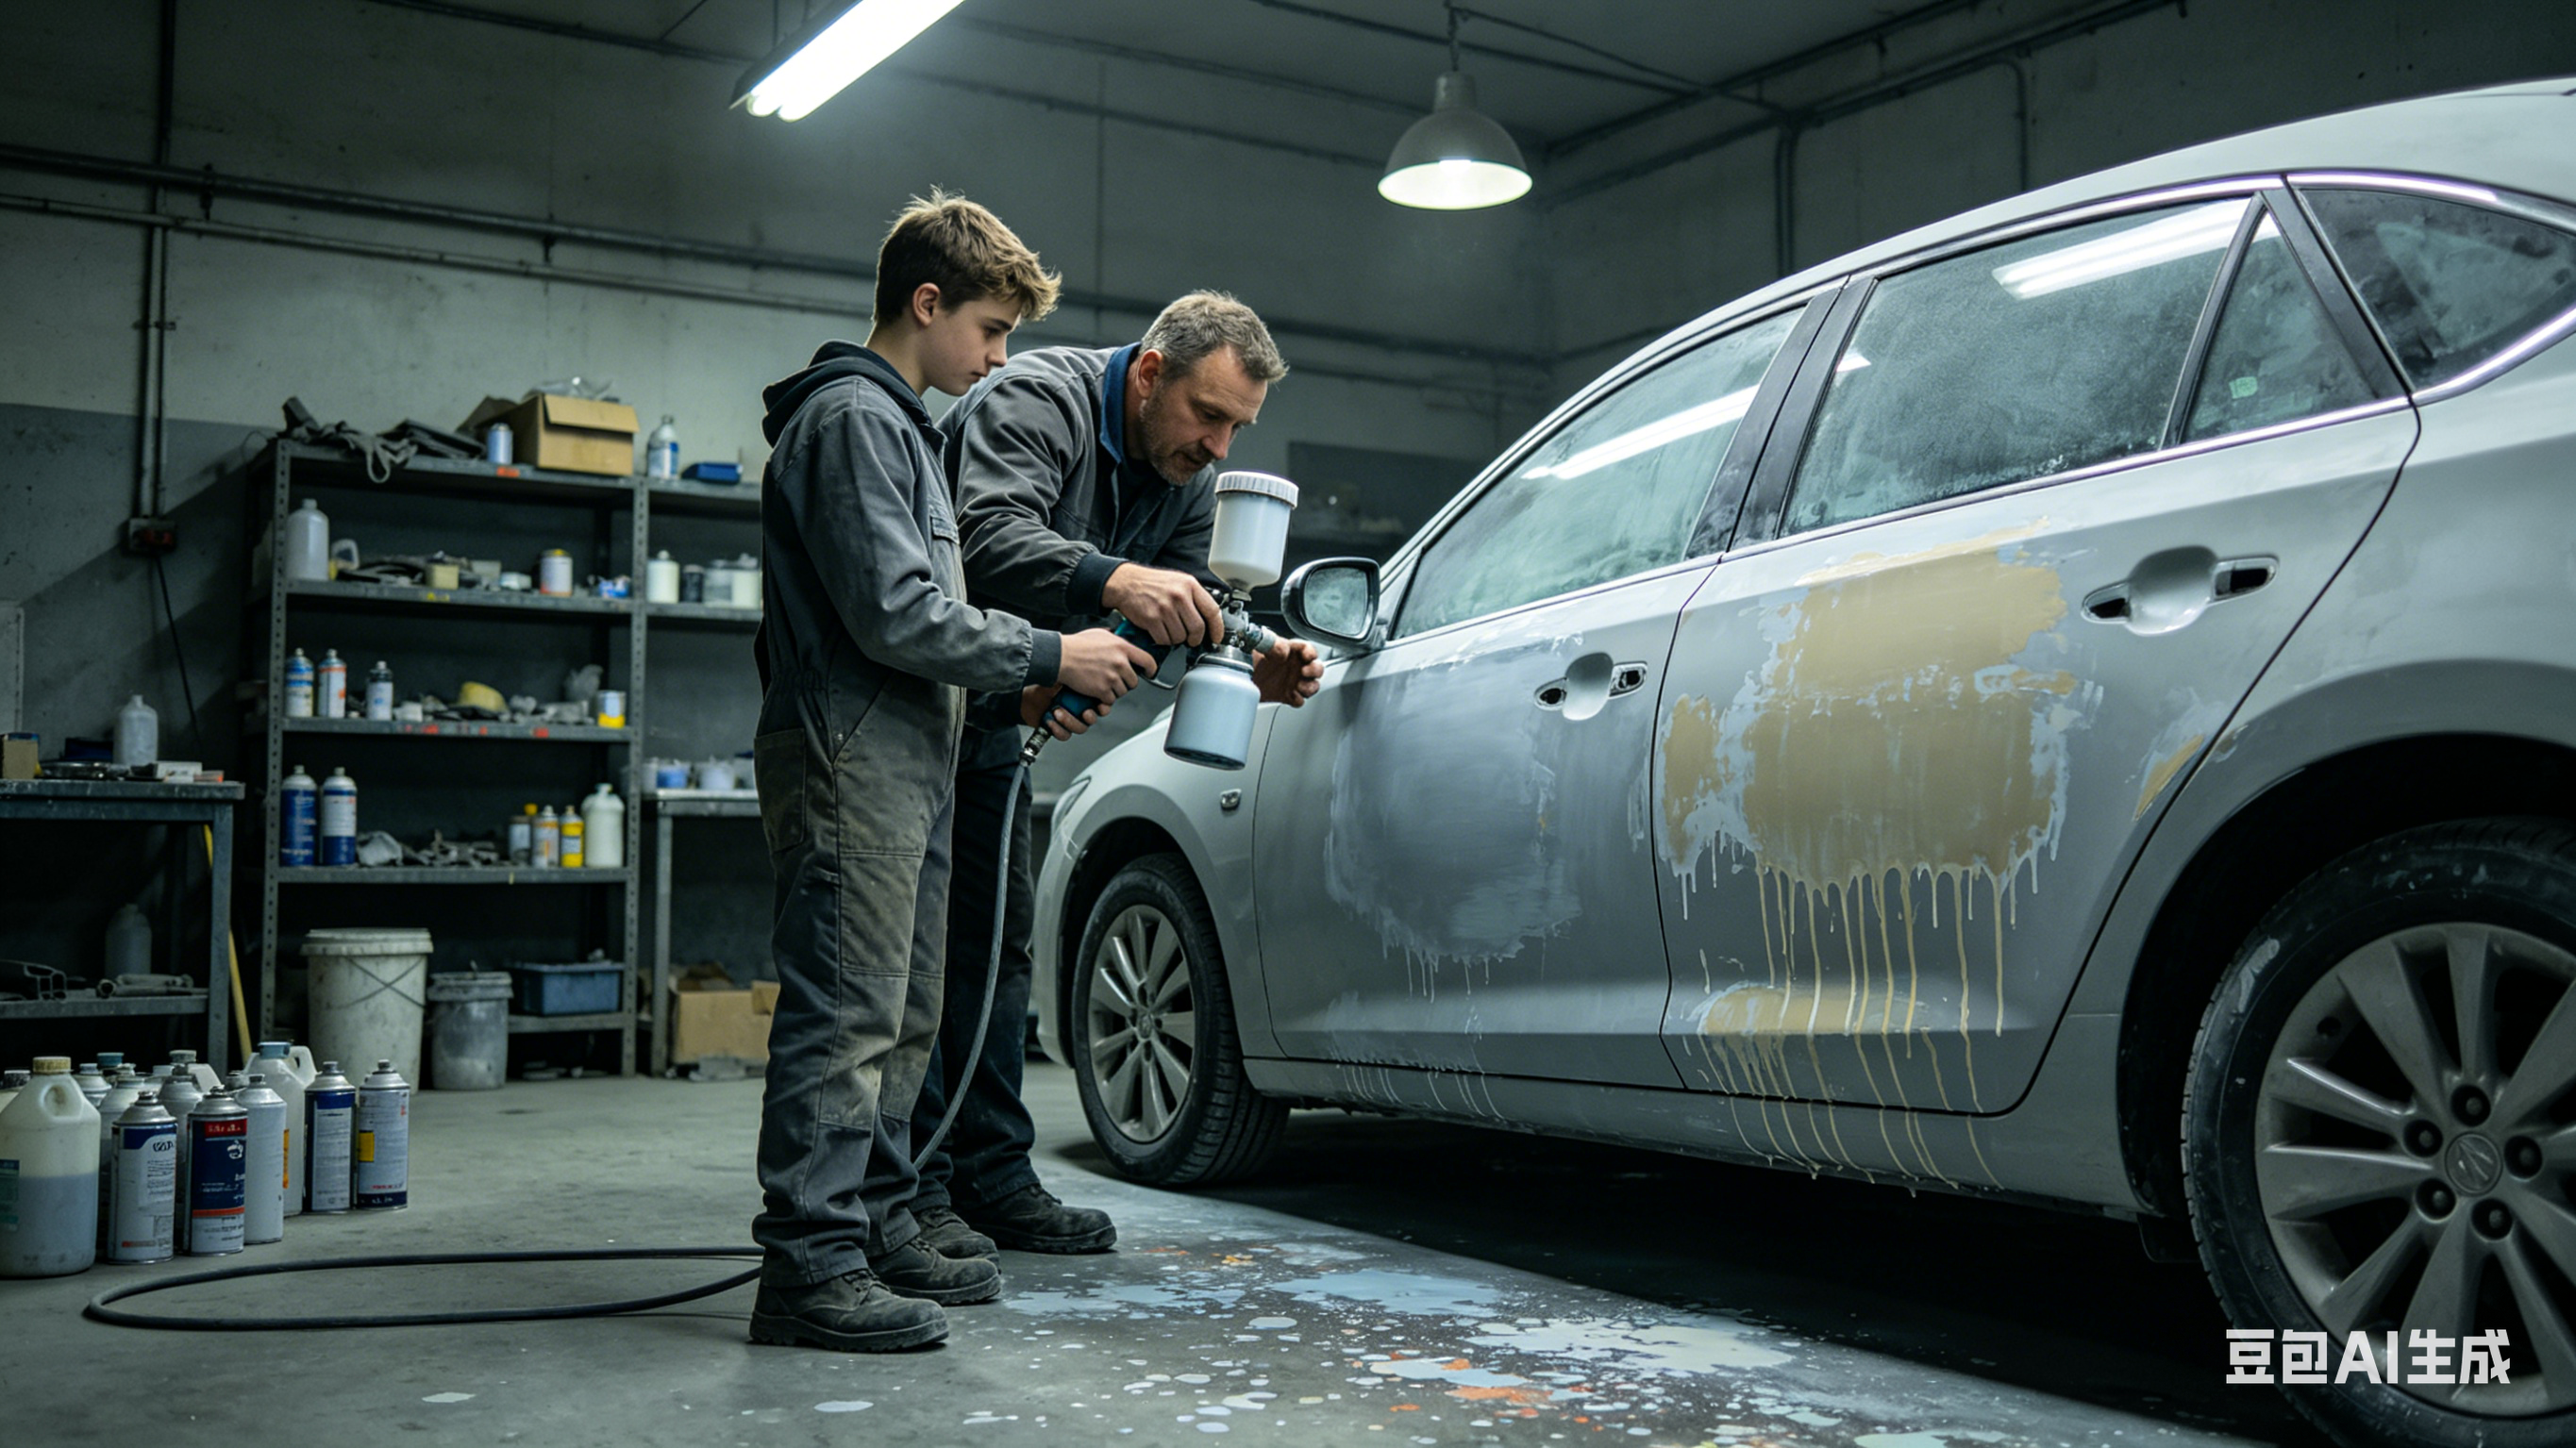
If you ask an experienced painter, "What's the most common mistake beginners make?" the answer will almost always be the same: trying to get full coverage in one thick coat.
This approach seems efficient, but it's actually the root cause of almost all spray painting problems — runs, orange peel, uneven drying. Nine times out of ten, that's where the trouble starts. The solution is simple: thin coats, multiple layers.
Why You Shouldn't Apply One Thick Coat
Many beginners think: "Since I need to build up thickness anyway, why not do it all at once?" But in reality, the problems caused by one thick coat far outweigh any time you might save.
| Problem | Cause | Consequence |
|---|---|---|
| Runs/Sags | One coat applied too thick; gravity pulls the wet paint downward | Tear-like drips on the surface; needs sanding and repainting in severe cases |
| Uneven Drying | Outer layer dries while inner layer is still wet | Surface feels dry but fingerprints easily; or wrinkling/cracking occurs |
| Wasted Paint | Much of the paint becomes overspray or is wasted when applied thickly | Actual transfer efficiency is about half that of thin coats |
| Trapped Solvent | Thick coat's surface seals too quickly; solvents underneath can't escape | Leads to bubbles, pinholes; may cause peeling over time |
| Difficult to Repair | Thick paint is hard and time-consuming to sand | Fixing problems costs far more time/effort than thin-coat application |
💡 In a nutshell: One thick coat doesn't save you time — it just bundles up all the problems for a bigger explosion later.
The Core Principle of Thin Coats, Multiple Layers
The logic is simple: break one big task into many small ones. Each layer does only a small portion of the work.
One thick coat = take on all risk at once
Thin multiple layers = spread out the risk, each layer takes only a small portion
Microscopic view: After each thin layer is applied, solvents evaporate quickly and the paint film rapidly reaches a "surface-dry" state. When the next layer is applied, it chemically bonds with the previous layer — not just physically stacking on top. The resulting film is more uniform, durable, and smooth than one thick coat.
The 3-Step Layering Method
Step 1: The Primer/Tack Coat (1-2 layers)
Purpose: Help the paint "bite" into the substrate and establish adhesion.
Key points:
-
Apply very thin — about 30% coverage
-
You should vaguely see the substrate showing through
-
The main job here is bonding, not hiding
Best for: All projects. Especially critical on smooth surfaces (metal, old paint).
Step 2: The Main Color Coats (2-3 layers)
Purpose: Gradually build color coverage to reach the final result.
Key points:
-
Each layer is slightly thicker than the tack coat, but still "thin"
-
Add about 20-30% coverage with each layer
-
Aim for full hiding by the 2nd or 3rd coat
How to know you're done: When you look from different angles — under direct light and side light — and can no longer see the substrate color.
Step 3: The Clear Coat / Topcoat (1-2 layers, if needed)
Purpose: Add gloss and durability.
Key points:
-
Apply after the color coat is completely dry
-
Clear coat can be slightly thicker than color coats (but still a thin layer)
-
This layer determines the final gloss level
What Does "Thin" Mean? Clear Standards
The hardest part for beginners is knowing how thin is "thin enough." Here are some intuitive ways to judge:
| Method | Standard |
|---|---|
| Visual | After spraying, you can vaguely see the underlying color or texture — like a thin, semi-transparent veil |
| Touch | 10 seconds after spraying, lightly touch the edge of the masking tape — the paint should be slightly wet but not flowing |
| Spray Pattern | Watch the fan pattern from the gun — it should spread quickly into a uniform thin layer on the surface, not pool into droplets |
| Comparison | If you think "This layer looks like I barely sprayed anything" — that's exactly right |
💡 A good rule of thumb: "Sprayed but see-through, the base faintly showing through" — if you can vaguely see the substrate, that's the right thickness.
Intercoat Drying Time: How to Know When to Apply the Next Coat
This is the second key to success. Applying too soon (before the previous coat has dried) leads to excessive "wet-on-wet" application — wrinkling and trapped solvent. Waiting too long (full dry) can affect intercoat adhesion.
General Guidelines
| Condition | Interval (at 25°C / 77°F, ~50% humidity) |
|---|---|
| Water-based paint — tack coat → next coat | 5-10 minutes (touch-dry — lightly touch and no paint transfers) |
| Water-based paint — between main coats | 5-10 minutes |
| Water-based paint — color → clear coat | 30-60 minutes (surface-dry — firm pressure leaves no fingerprint) |
| Solvent-based paint — tack coat → next coat | 10-15 minutes (matte/dull appearance) |
| Solvent-based paint — between main coats | 10-15 minutes |
| Solvent-based paint — color → clear coat | 24 hours or as per instructions (must be fully cured) |
"Touch-dry" vs "Surface-dry" vs "Fully cured"
| State | How to test | What you can do |
|---|---|---|
| Touch-dry | Light touch — no paint transfers to finger, but pressure leaves a mark | ✅ Apply next color/base coat |
| Surface-dry | Firm pressure — no fingerprint; light fingernail scratch leaves no mark | ✅ Apply clear coat (water-based); ✅ Mask/touch lightly |
| Fully cured | Heavy pressure — no change; heavy fingernail scratch leaves no mark | ✅ Sand, polish, apply tape |
Environmental Factors
| Condition | Effect on drying time |
|---|---|
| Low temperature (<15°C / 59°F) | Drying time increases by 50-100% |
| High temperature (>30°C / 86°F) | Drying time decreases by 30-50% — but be careful of dry spray |
| High humidity (>70%) | Water-based paint drying time increases significantly; less effect on solvent-based |
| Ventilation | Better ventilation = faster drying (but don't blow air directly onto the painted surface) |
💡 Advice for beginners: Better to wait a little longer than rush. If you're unsure whether it's dry, waiting an extra 5 minutes is safer.
Practical Example: A Complete 3-Layer Thin Coat Process
Let's say you're painting a small wooden box:
| Step | Action | Notes |
|---|---|---|
| Layer 1 (Tack coat) | 15-20cm distance, ~30cm/sec speed | Wood grain vaguely visible → ✅ Correct |
| Wait | 5-8 minutes | Light touch at edge → no paint transfer |
| Layer 2 (Main coat 1) | Same technique, ~60-70% coverage | Wood grain blurred but still faintly visible |
| Wait | 5-8 minutes | Light touch → dry |
| Layer 3 (Main coat 2) | Final coverage adjustment, full hiding | Wood grain not visible from any angle |
| Wait (if applying clear coat) | Water-based: 30 min; Solvent-based: 24 hrs | Surface completely dry |
| Clear coat (optional) | 1-2 thin layers of clear | Adds gloss and protection |
Common Errors vs Correct Practices
| Wrong approach | Consequence | Correct approach |
|---|---|---|
| "This layer is too thin, let me go over it again" | Adding more paint in one pass creates thickness → runs | Resist! The next layer will cover it naturally |
| Not waiting between coats | Trapped solvent, wrinkling, fish eyes | Be patient — use the finger test |
| Waiting too long (full dry) between color coats | Poor intercoat adhesion, potential peeling | Apply next coat when previous is surface-dry but not fully cured |
| Applying clear coat over wet/uncured color coat | Trapped solvent, blushing, wrinkling | Follow the recommended waiting time strictly |
Why "Thin Coats, Multiple Layers" is Crucial for Beginners
1. High Tolerance for Mistakes
If something goes wrong with one thin coat (dust nibs, unevenness), it's easily fixed by light sanding — and doesn't ruin the whole project.
2. Each Coat is Practice
Over 3-4 coats, you can adjust your technique each time — distance too close on this coat? Pull back on the next. Movement too slow on this one? Speed up next time. You get better with each pass.
3. Sense of Control
You don't feel like "this one shot determines success or failure." Each layer contributes only a small part, so you stay relaxed — and your technique stays consistent.
4. Better Final Results
Multiple thin coats produce a more uniform, smoother, and more durable finish than one thick coat — a truth proven by countless professional painters.
Final Takeaways
The next time you pick up a spray gun, remember these three things:
-
"Thin enough to see through" — Vaguely see the substrate through each coat
-
"Let it dry" — Don't rush to apply the next coat
-
"Three to four coats" — Tack + main + main (+ clear)
Thin coats and multiple layers don't waste time — they trade a few controlled minutes for a perfect finish. When you see that smooth, uniform final result, you'll be glad you didn't take shortcuts.