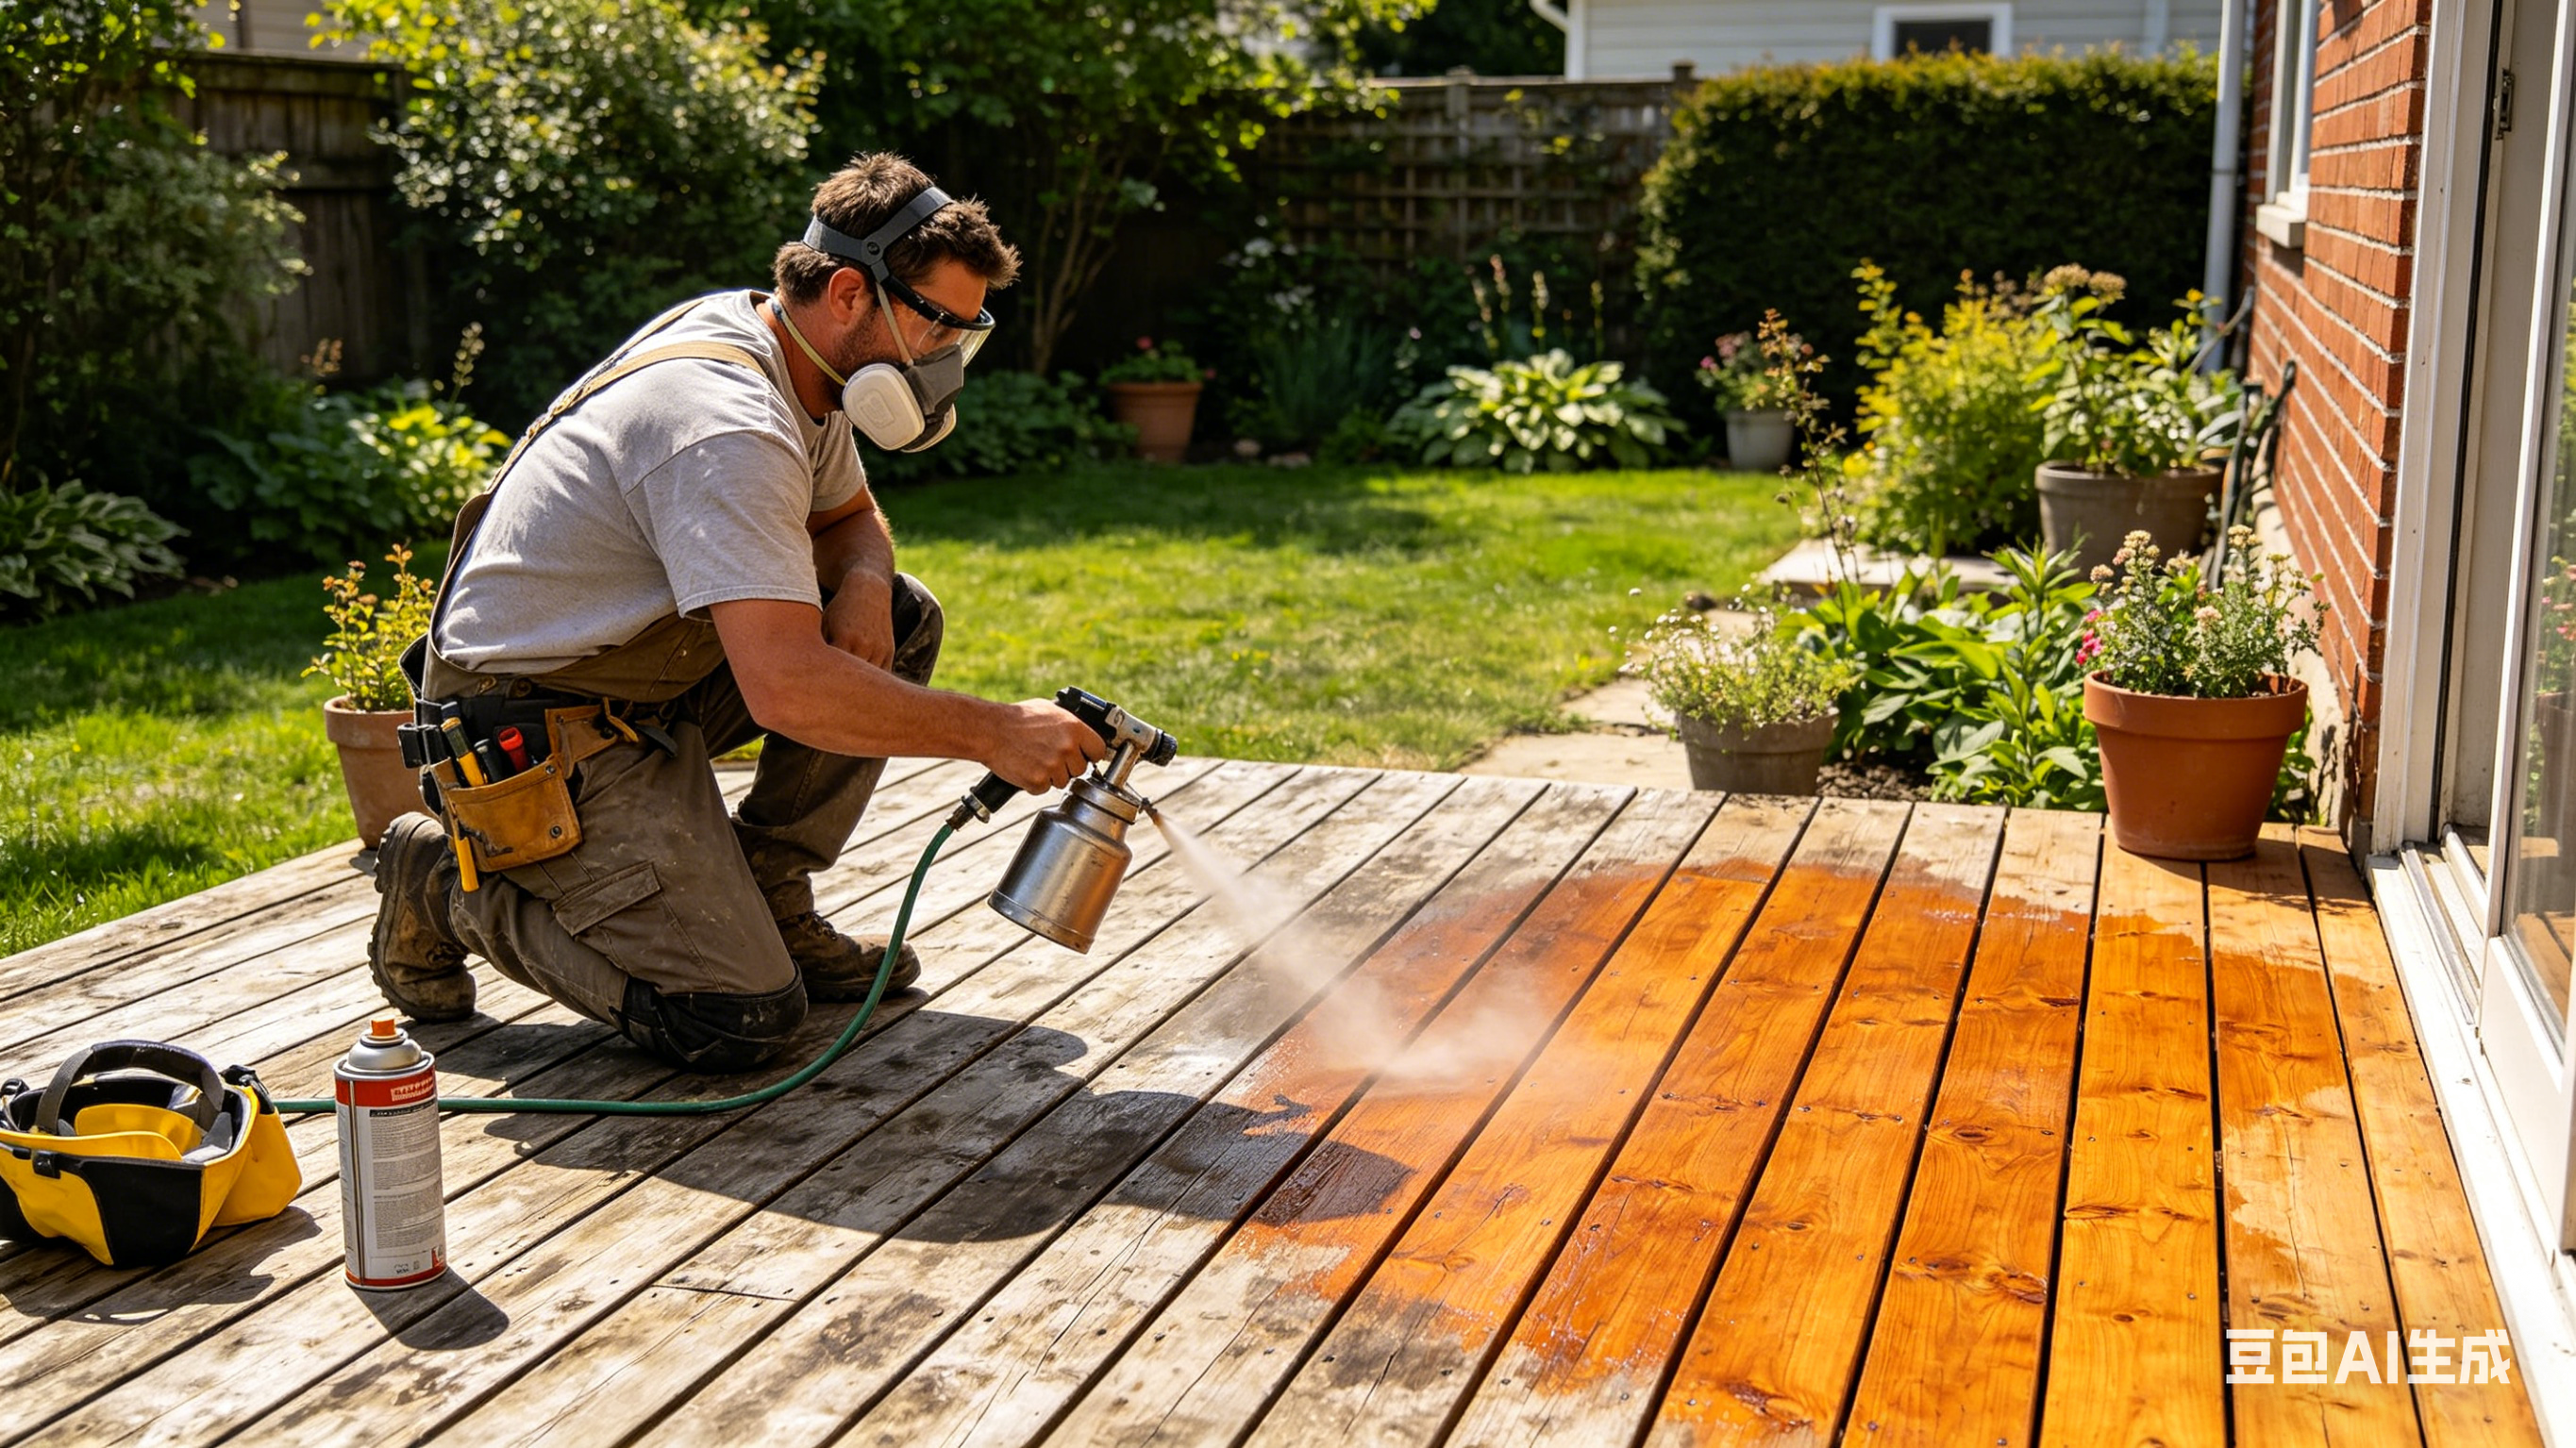
Have you ever had this experience?
You bought a beautiful oak board, planning to make a small side table. You chose a dark walnut dye, hoping to bring out the delicate wood grain. But when you applied it with a cloth — the color was uneven, with dark and light patches. When you tried a brush — after it dried, brush strokes were clearly visible, like scars on the surface.
You tried a second and third time, but the same problem persisted.
This isn't because your craftsmanship is lacking. It's because you're using the wrong tool.
Wood dyes and thin varnishes share a common characteristic: they are too thin. Their viscosity is close to water. When sprayed through a standard nozzle (usually 1.5mm or larger), what comes out isn't a fine mist, but a stream of liquid. It runs everywhere along the wood grain, completely beyond your control.
The solution is simple: switch to a smaller 1.2mm nozzle.
The 1.2mm nozzle is specifically designed for low-viscosity liquids. It atomizes thin dyes into extremely fine particles that land on the wood like a gentle mist — no pooling, no running, no hiding the wood grain.
Today, I'll guide you step by step through the process of applying a uniform, streak-free thin coating to wood using a 1.2mm nozzle with a corded spray gun.
Let's get started.
What You'll Need to Prepare
Before you begin, gather your materials. This project doesn't require many tools, but each one is critical.
| Item | Recommended Model/Spec | Why You Need It |
|---|---|---|
| Spray Gun | EP013 Corded | For stationary indoor work, fine finishing requires stable handling; corded version is lighter and less tiring for prolonged use |
| Nozzle | 1.2mm | Smallest orifice, specifically for thin liquids; produces extremely fine atomization, no pooling or running |
| Sealing Gasket | 2-3 spares | Thin liquids are highly penetrating and prone to leaking from gaps; a good gasket prevents dripping from the gun head |
| Wood | Oak, walnut, maple, etc. (already sanded smooth) | Any solid wood requiring coloring or sealing |
| Liquid | Wood dye, thin varnish, shellac, sanding sealer | Low-viscosity liquids, ideal for 1.2mm nozzle |
You'll also need: masking tape, disposable gloves, rags, and thinner (for cleaning the spray gun).
Step 1: Inspect Equipment, Replace Sealing Gasket
Before pouring in any liquid, check the condition of your spray gun.
Thin liquids have an annoying characteristic: they're highly penetrating. If your sealing gasket is aged or cracked, dye or varnish will seep through the gap in the gun head — you'll end up with color all over your fingers, and liquid may even drip onto your workpiece.
Therefore, the first critical step in this project is:
Before you start, inspect the sealing gasket. If you're unsure, replace it with a new one.
The sealing gasket is a wear part. It's inexpensive, but its role is crucial. A good gasket ensures liquid flows only where it's supposed to.
After inspecting the gasket, install the 1.2mm nozzle onto the EP013 corded spray gun, tightening it securely without over-torquing.
Step 2: Choose the Right Liquid
The 1.2mm nozzle is best suited for low-viscosity liquids. Here are several typical recommendations:
| Liquid Type | Description | Need Dilution? |
|---|---|---|
| Wood Dye | Water-based or oil-based, for coloring wood without hiding grain | Usually no, use as is |
| Thin Varnish | For sealing wood surfaces, preventing absorption by subsequent coats | Follow product instructions, usually no |
| Shellac | Natural resin coating, commonly used for musical instruments and wood sealing | No |
| Sanding Sealer | For sealing wood pores, reducing topcoat consumption | No |
Key Tip: Most liquids don't need additional dilution. If you find the consistency too thick, add a small amount of thinner (within 5%), stir well, then dip a stir stick — if the liquid drips continuously without forming a thread, the viscosity is suitable.
Do not use high-viscosity latex paints or thick pastes — they will clog the 1.2mm nozzle.
Step 3: Spraying Technique — Thin Coats, Multiple Layers
This is the most important step in the entire project.
The core principle for spraying thin liquids with a 1.2mm nozzle is: apply thin coats, one layer at a time, allowing each to dry before applying the next.
1. Adjust Spraying Distance
Keep the gun head 15-20cm (6-8 inches) from the wood surface.
-
Too close: The liquid impact is too strong, leading to pooling.
-
Too far: Atomized particles land early, wasting material and resulting in a rough surface.
2. Control Movement Speed
Maintain a steady, uniform speed — slightly faster than when spraying latex paint.
Why? Thin liquids flow easily. If you move too slowly, the liquid will accumulate into droplets on the surface.
A simple rule of thumb: You should see the mist landing on the surface, but not an immediate "waterlogged" sheen.
3. Apply the First Thin Coat
The goal of the first coat is a light coverage — you don't need complete opacity.
After spraying, it should look like a thin mist, with the wood grain still visible — this is normal.
The first coat's job is to "prime" the wood, not to achieve the final color in one go.
4. Allow to Dry
-
Wood dye: usually 5-10 minutes to surface dry (depends on temperature and humidity)
-
Thin varnish / shellac: 15-30 minutes
Testing standard: Gently touch the edge (non-sprayed area) with a fingertip. If it's not tacky, you're ready for the next coat.
5. Repeat Spraying
Generally, 2-4 coats are needed to achieve the desired color depth or sealing effect.
Each coat can be slightly thicker than the previous one (as the wood's absorption capacity gradually saturates).
After the final coat, let the workpiece dry naturally overnight.
What About Pooling? If you notice liquid pooling (like a small puddle) in a specific area during spraying, do not try to blow it away with the spray gun — it will only make things worse. Let it dry, then gently sand it smooth with fine sandpaper (320-grit or higher), and apply another thin coat.
Common Problems and Solutions
| Problem | Possible Cause | Solution |
|---|---|---|
| Spray comes out as droplets, not mist | Viscosity too low or nozzle too large | Confirm you're using the 1.2mm nozzle; if liquid is too thin, add a small amount of thickener (not recommended) or switch to an even smaller orifice |
| Dripping from gun head | Sealing gasket aged or loose | Replace with a new sealing gasket, re-tighten the gun head |
| Uneven color | Inconsistent movement speed or excessive overlap | Practice steady movement, maintain 50% overlap — like mowing a lawn, each pass covers half of the previous one |
| Rough surface after spraying | Spraying distance too far or liquid drying too quickly | Shorten distance to 15-20cm (6-8 inches); add 5-10% retarder |
| Wood grain hidden | Coats too thick or dye concentration too high | Dilute the dye, apply thinner coats, increase number of layers instead of thickness |
How to Clean the Spray Gun After Use
Thin liquids dry quickly. You must clean the spray gun immediately after finishing, otherwise the nozzle and fluid passages will clog.
Cleaning Steps:
-
Pour out any remaining liquid from the cup
-
Pour in an appropriate amount of thinner (water or dedicated thinner, depending on the liquid type)
-
Spray a few bursts to flush the fluid passages and nozzle
-
Disassemble the cup, nozzle, and gun head
-
Use a soft brush dipped in thinner to clean each part
-
Check the sealing gasket specifically: If you find it deformed or hardened, replace it immediately
-
Wipe dry, reassemble, and store in a dry place
Tip: If you've been using water-based dye or water-based varnish, rinsing with warm water is sufficient — no chemical thinner needed.
Summary
Using a 1.2mm nozzle with the EP013 corded spray gun to apply wood dyes and thin varnishes is a classic case of "using the right tool for the right job."
Let's review the key points of this project:
| Key Element | Why It Matters |
|---|---|
| 1.2mm nozzle | Smallest orifice, specifically for thin liquids, produces extremely fine atomization |
| EP013 corded | For stationary indoor work, stable handling, less fatigue during long jobs |
| Sealing gasket | Thin liquids are highly penetrating — inspect or replace before starting |
| Thin coats, multiple layers | Apply one coat at a time, letting each dry before the next; 2-4 layers achieve ideal results |
| Clean immediately | Liquids dry quickly — clean the gun right after finishing to prevent clogging |
Wood dyes and thin varnishes shouldn't be a source of frustration. They simply require a more refined tool to handle them properly.
The 1.2mm nozzle is that tool.
If you don't already have a 1.2mm nozzle, consider getting one — it may not be the nozzle you use every day, but when you need it, no other size can take its place.
Also, it's wise to keep a few extra sealing gaskets on hand. They're inexpensive, but missing just one can ruin an afternoon's work.