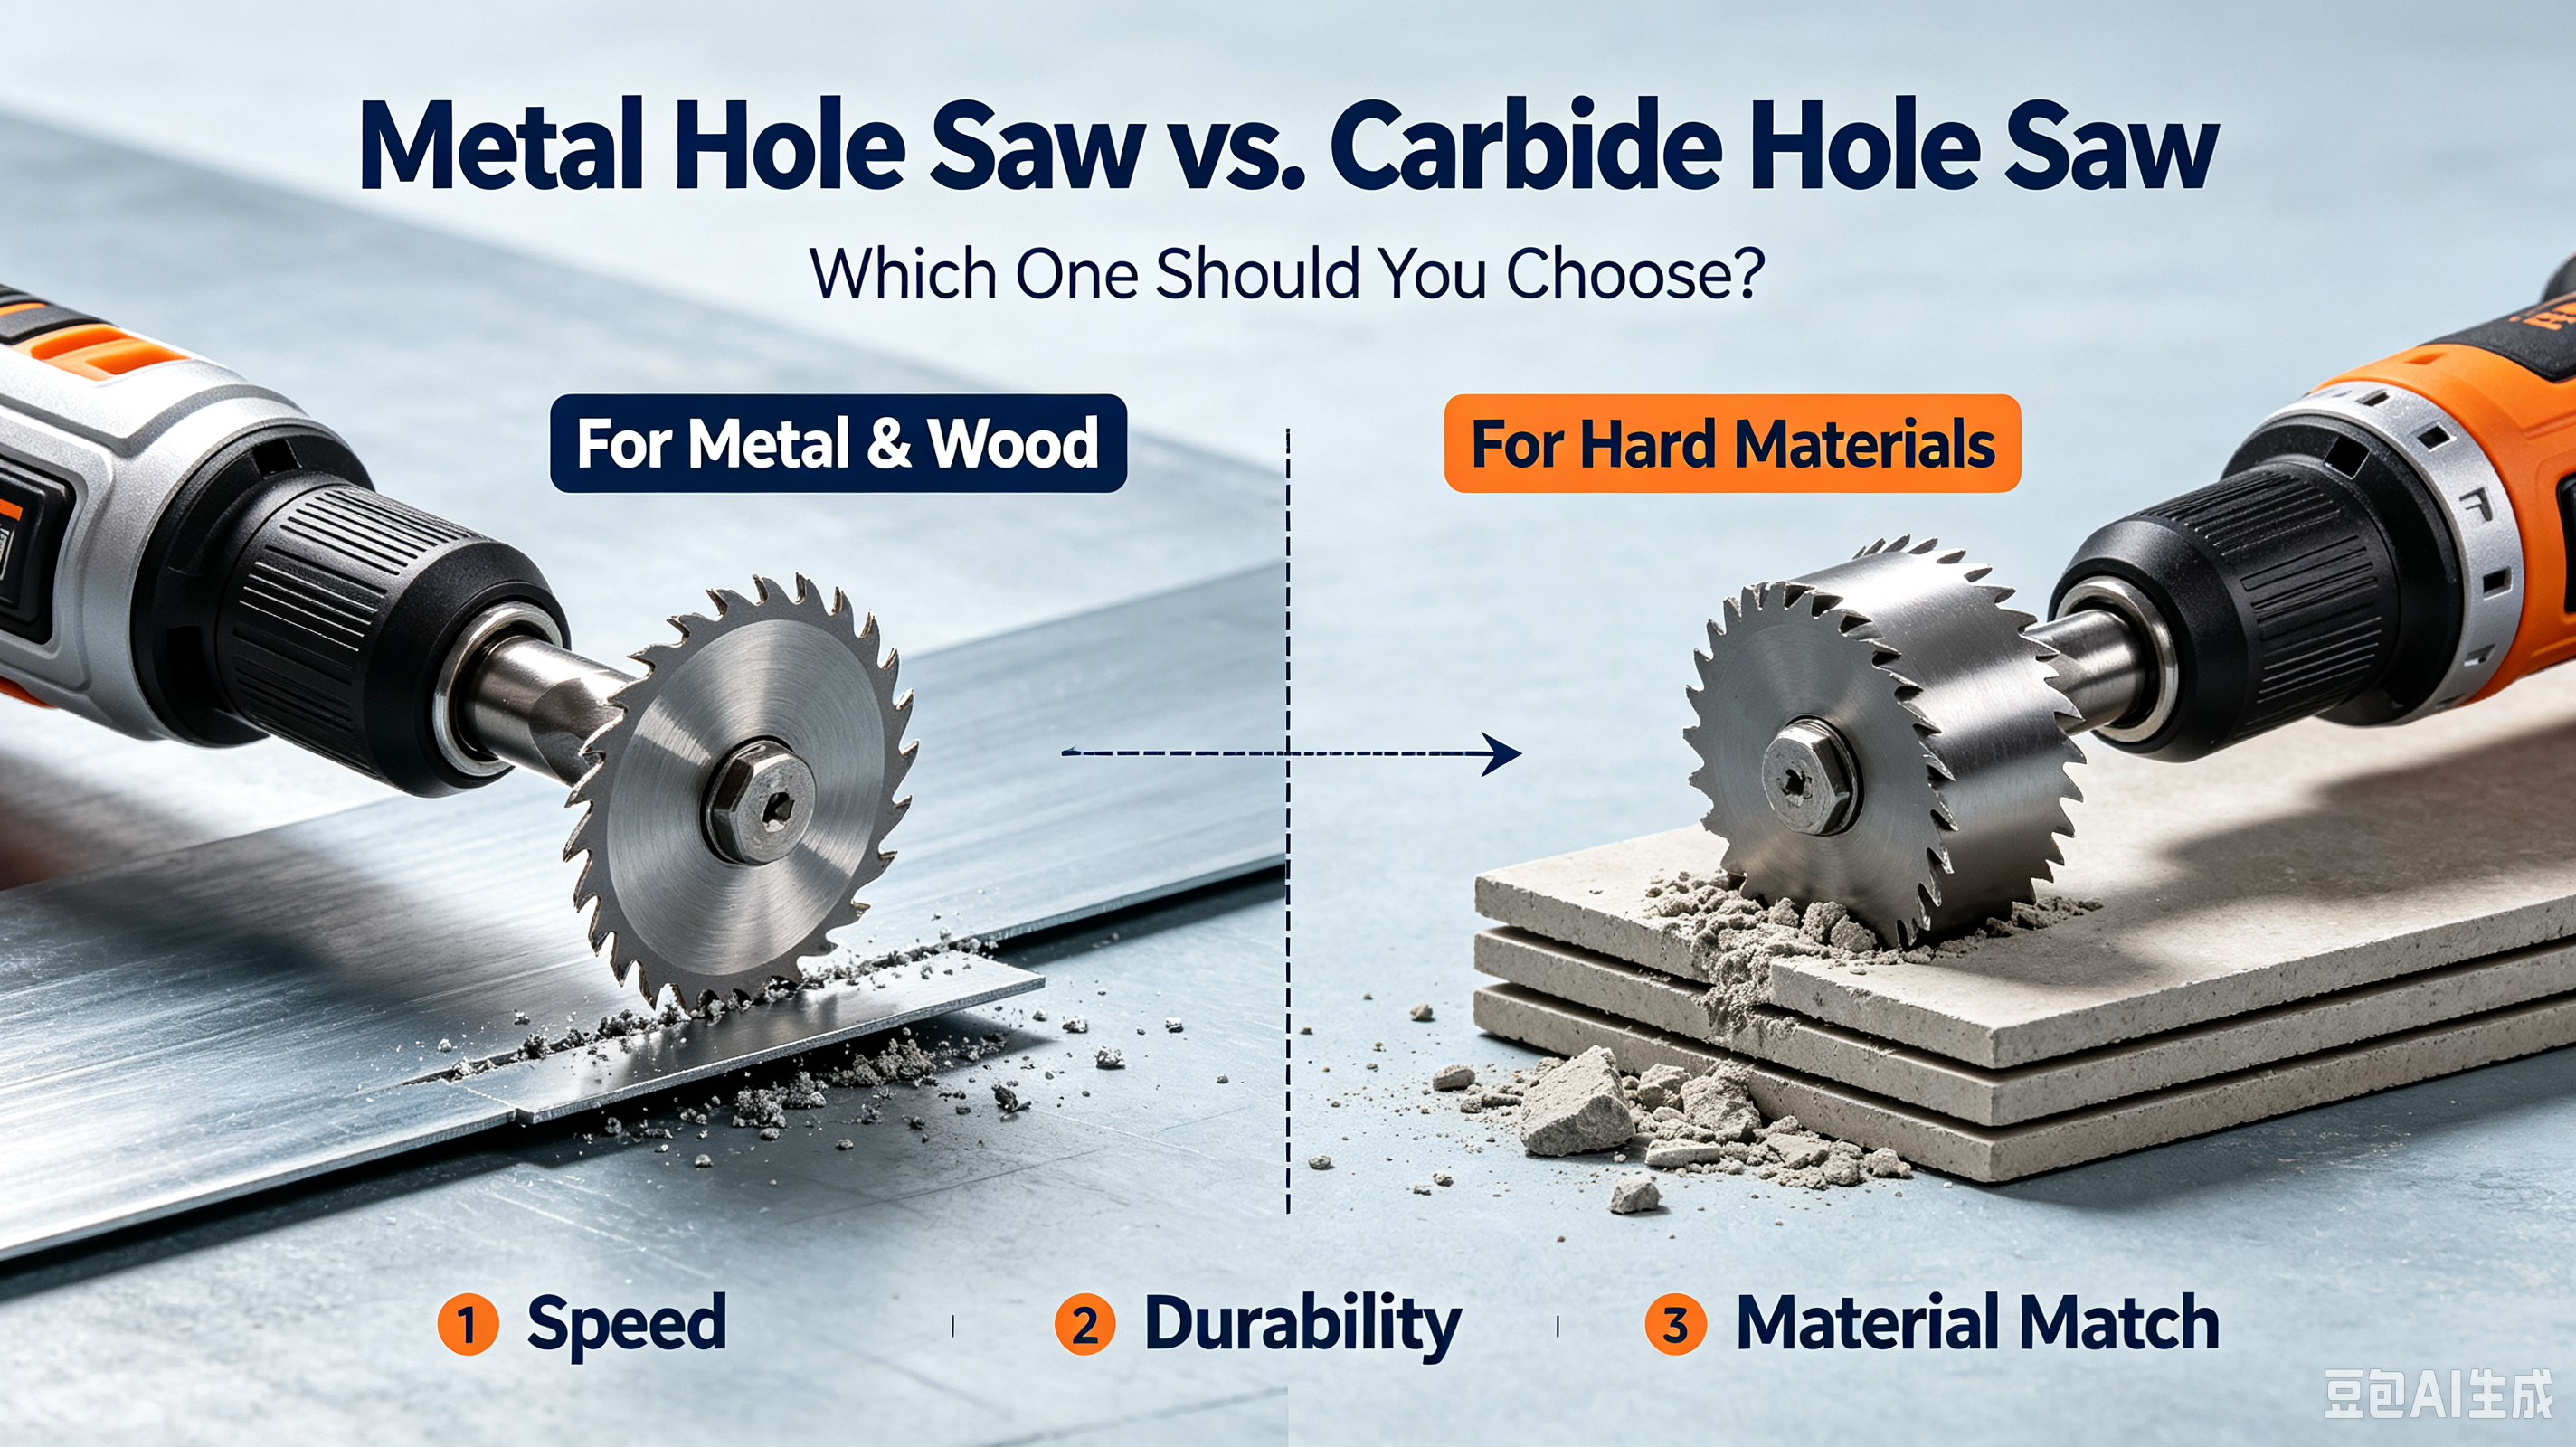

When it comes to cutting large holes in wood, metal, or plastic, the bi-metal hole saw is the undisputed king of efficiency. But many DIY enthusiasts and even experienced tradespeople have faced this frustrating situation: a brand-new hole saw gets stuck halfway through, spins endlessly without cutting, or overheats and burns out after just a few holes. And let's be honest — a quality bi-metal hole saw isn't cheap.
Here's the truth: 90% of hole saw failures are not due to poor quality — they're caused by improper use. This guide will help you troubleshoot and fix these issues step by step.
Why Choose a "Bi-Metal" Hole Saw?
Before diving into the solutions, let's quickly understand why bi-metal hole saws are the industry standard. They combine the best of two materials:
-
Teeth section: Made of High-Speed Steel (HSS) — hard, wear-resistant, and capable of cutting through metal.
-
Body section: Made of tough alloy steel — flexible and impact-resistant, less likely to crack under stress.
This "rigid yet flexible" combination allows it to cut through wood (even if there are nails hidden inside), metal, and plastics with ease. It's the most versatile and durable option on any job site.
Problem #1: Hole Saw Slipping — Spinning Without Cutting
Typical scenario: You start the drill, but the hole saw jumps and skips across the workpiece, leaving black scorch marks but barely making a dent.
Root Causes:
-
Missing or dull pilot drill: Large-diameter hole saws generate significant resistance. Without a pilot bit (the center drill) to guide it in first, the saw will "dance" due to centrifugal force.
-
Incorrect angle: The saw is not perfectly perpendicular to the workpiece, so only a few teeth are engaging.
How to Fix It:
-
Always use a sharp pilot drill: Make sure the pilot bit is securely installed and protrudes at least 3mm (1/8 inch) beyond the hole saw teeth. Replace or sharpen it if it's dull.
-
Start slow and vertical: Start at a low speed to let the pilot bit find its position. Then, press the hole saw vertically against the workpiece. Ensure all teeth contact the surface evenly.
Problem #2: Hole Saw Stuck — Won't Advance or Withdraw
Typical scenario: Midway through the cut, resistance spikes. The drill struggles, slows down significantly, and the hole saw is jammed tight in the material.
Root Causes:
-
Poor chip clearance: Sawdust or metal shavings are packed into the teeth gullets, increasing friction and resistance dramatically.
-
Excessive feed pressure: You're pushing too hard, taking a deeper cut than the saw can handle.
-
Material stress: Especially with metals, heat expansion followed by contraction can clamp down on the saw blade.
How to Fix It:
-
Use the "pecking" technique (back-and-forth motion): This is the #1 tip! Don't just push continuously. Cut for a few seconds, then lift slightly to allow the chips to fall out from the teeth. Repeat and periodically clear debris.
-
Use an auxiliary handle: Hold the drill with both hands for better stability and controlled feed pressure.
-
Back out carefully: Reduce pressure as you near the end of the cut to avoid "snagging." If it gets stuck, try slowly reversing the drill to back out, but always stay alert.
Problem #3: Hole Saw Burning Out — Blue Teeth, Blunt Edges
Typical scenario: After a few cuts, you notice the edge of the saw turning blue, smoke rising, teeth dull quickly, or even breaking off.
Root Cause:
Heat is the #1 enemy of a hole saw!
-
Excessive speed: This is the most common mistake. The larger the hole saw diameter, the slower the recommended rotational speed. Using speeds meant for small drill bits on a large hole saw will overheat and "anneal" (soften) the high-speed steel teeth in seconds.
-
No cutting fluid: Cutting metal dry generates intense heat that dramatically shortens tool life.
How to Fix It:
-
Follow the recommended speed chart — strictly:
-
Stainless steel / steel: Recommended speed 40–85 RPM (depending on hardness).
-
Aluminum (soft metals): Recommended speed around 110 RPM.
-
Plastic: Recommended speed around 140 RPM.
-
Golden rule: "The larger the diameter, the slower the speed; the harder the material, the slower the speed."
-
-
Always use cutting fluid / lubricant:
-
For metal, always use cutting oil or a coolant. It cools and lubricates, dramatically increasing cutting efficiency and blade life.
-
For aluminum, kerosene works best to prevent aluminum chips from welding to the teeth.
-
DIY alternative: You can spray water during cutting (but be careful of electrical safety and flying chips) — though it's less effective than specialized oils.
-
Advanced Maintenance & Safety Tips
-
Inspection: Before each use, check the teeth for chips, cracks, or missing segments. Discard immediately if damaged — it can get stuck or send fragments flying.
-
Cleaning & Rust Prevention: After use, clean off debris and apply a light coat of rust-preventive oil before storage.
-
Absolutely Forbidden: Never use a bi-metal hole saw in the "hammer" (impact) mode of your drill! This will cause the saw body to crack or shatter instantly.
-
Personal Protective Equipment (PPE): Always wear safety goggles. Use a dust mask and gloves as needed.
Summary: A Good Tool Is Only as Good as the User
A quality bi-metal hole saw is like a fine horse — you need to understand its temperament to ride it well. Remember the three golden rules:
"Slow speed, vertical entry, and frequent chip clearing with proper cooling."
Follow these guidelines, and your hole saw will easily last twice as long — saving you both money and frustration.