That thin scratch on your car door reminds you of its existence every time you open it. Take it to a repair shop? They'll quote you hundreds or even thousands. Leave it alone? It's an eyesore. But in reality, with the right technique, repairing it yourself with a spray gun can not only save you that money but also give you a real sense of accomplishment.
1. Preparation: The Tools Make the Job
Before you start, get your tools ready. Here's what you'll need:
| Tool Category | Specific Items |
|---|---|
| Spraying Tools | Spray gun, air source (or spray cans) |
| Sanding Tools | Sandpaper of various grits (coarse and fine – 2000-3000 grit recommended) |
| Paint Materials | Base coat, primer, and clear coat that match your car's color |
| Auxiliary Tools | Masking paper/tape, cleaner, filler (for deeper scratches), polishing compound |
The most critical step is getting the right color. Your car's paint code is usually found on a label on the inside of the driver's side door jamb. Buying touch-up paint that matches this code is the only way to avoid obvious color differences after repair.
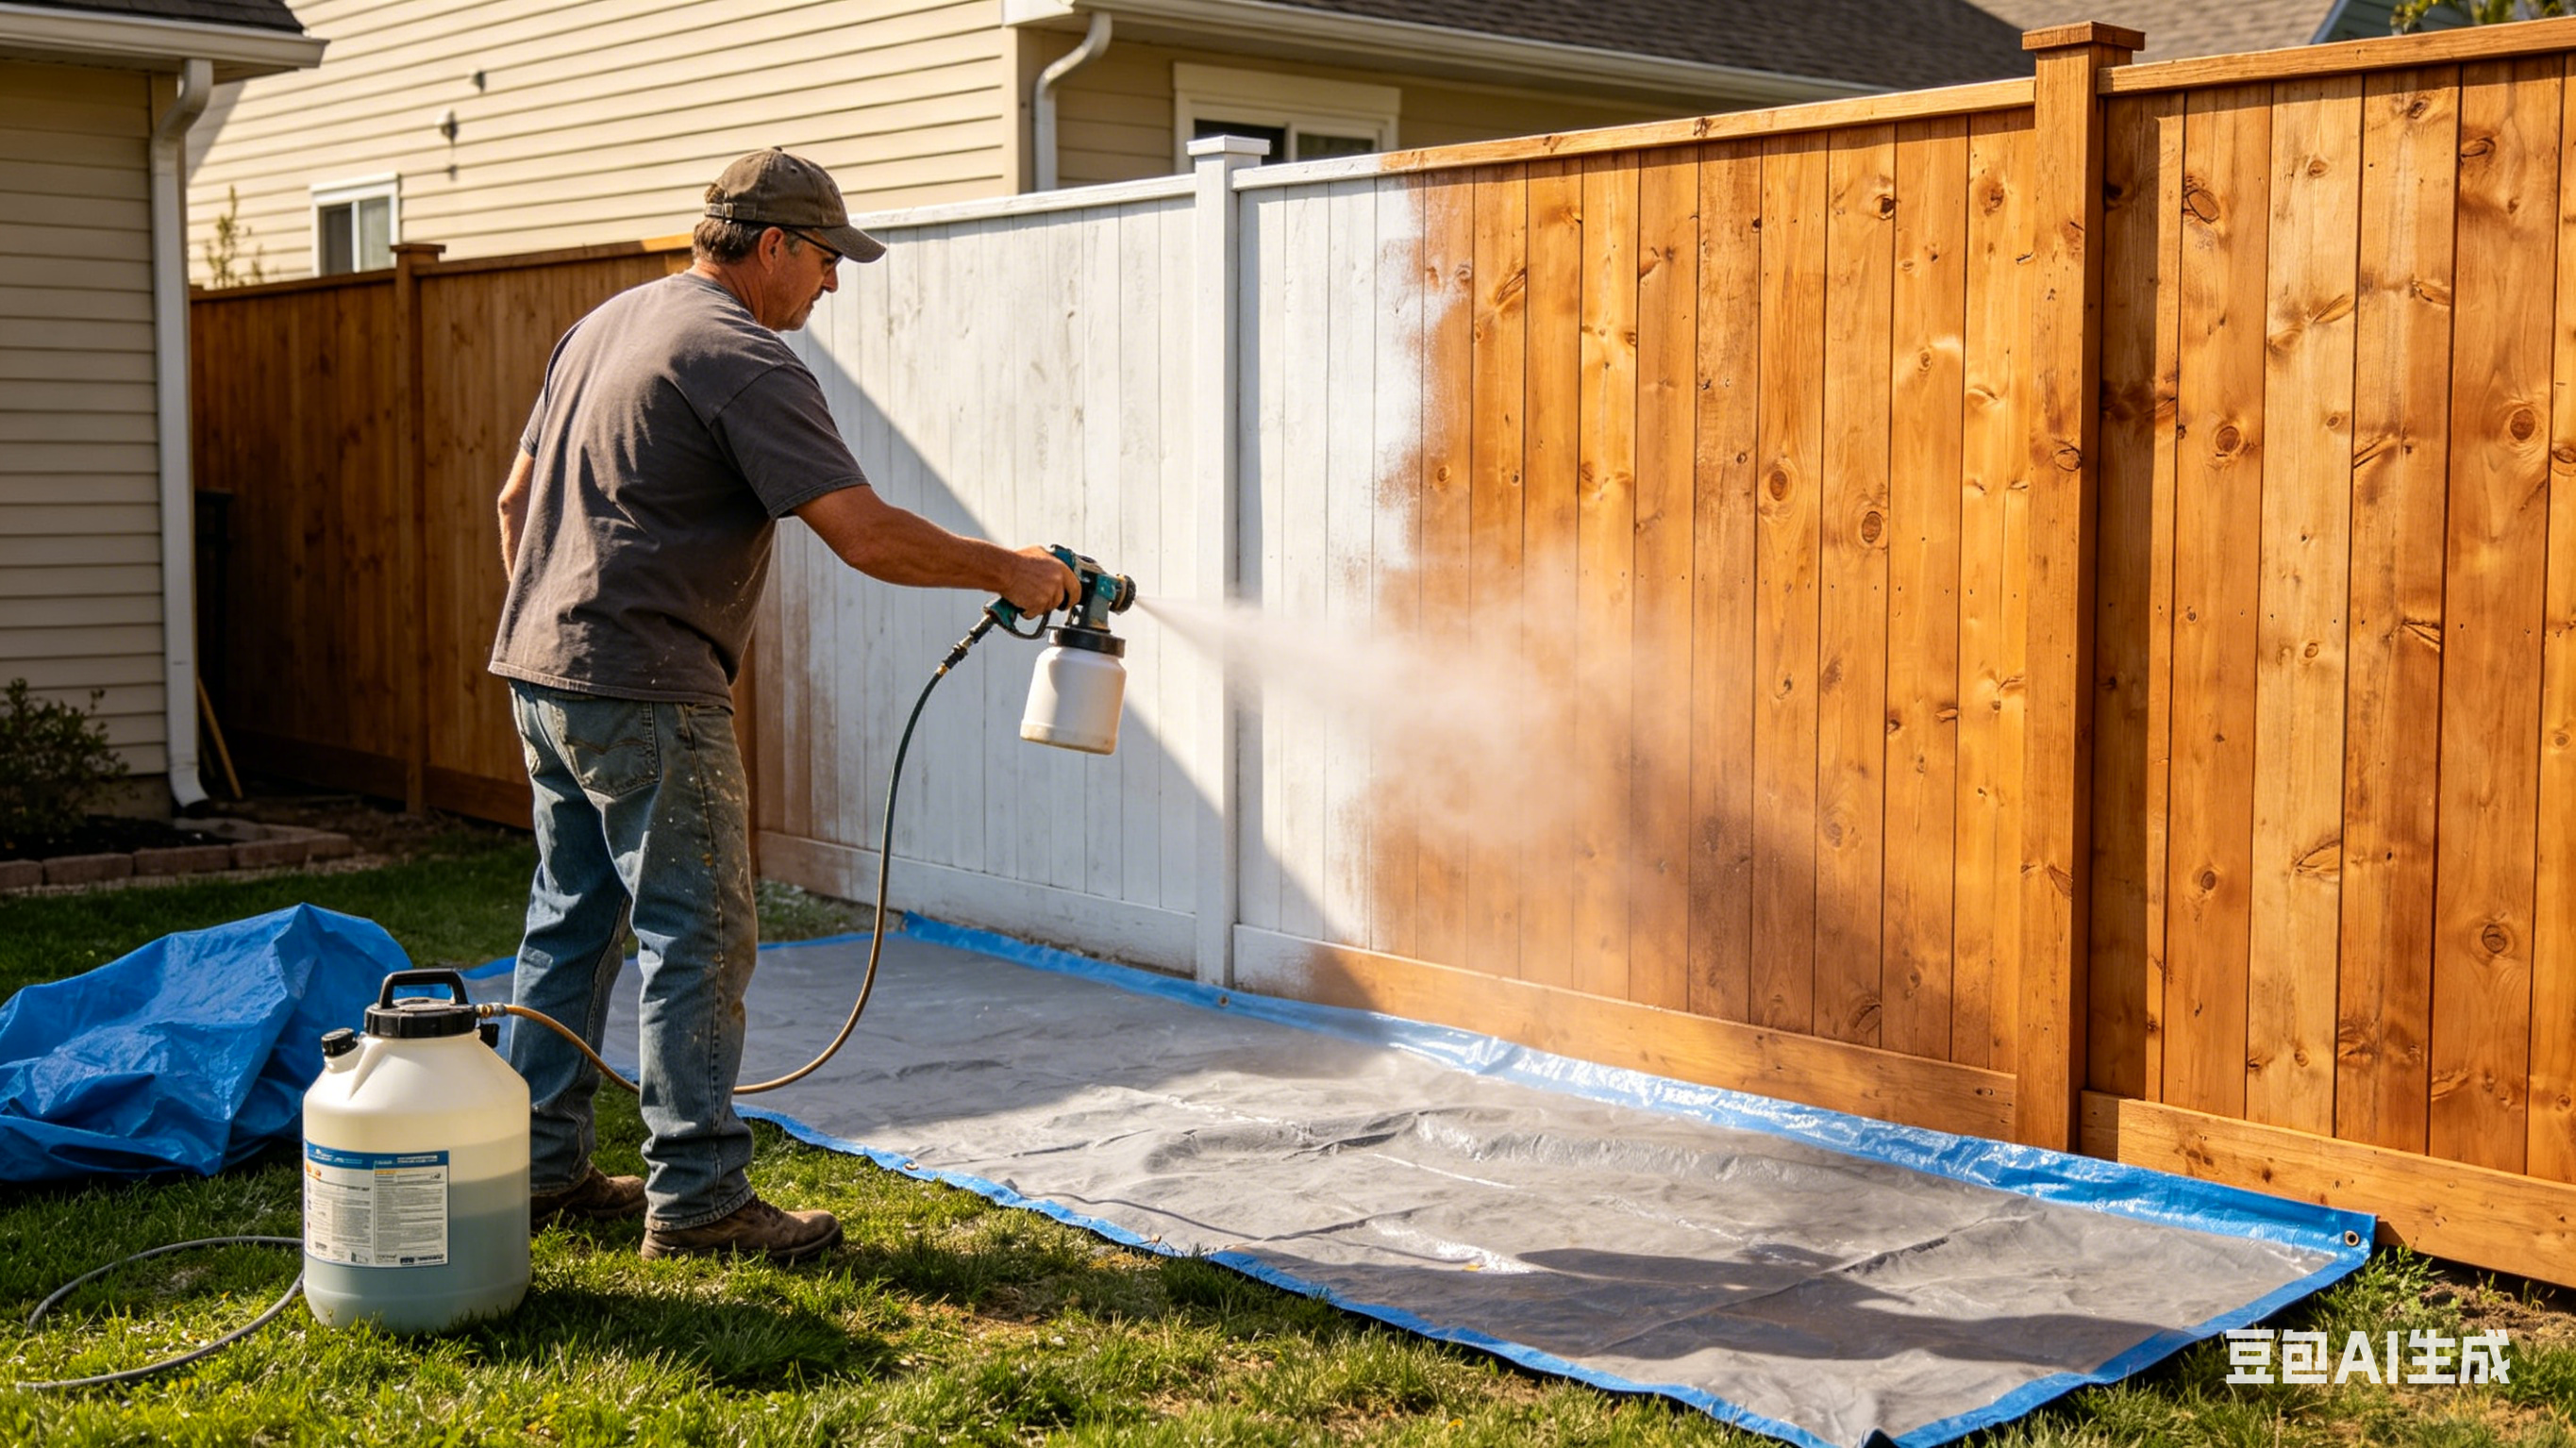
2. Work Environment: Don't Start on a Windy Day Outdoors
The environment matters. The ideal conditions are: wind-free, dust-free, dry, and well-ventilated. Wind blows dust onto wet paint, and high humidity affects paint adhesion and drying time.
Key tips: Try to work in an indoor garage or find a sheltered corner. If you must work outdoors, avoid windy and dusty conditions.
3. Step-by-Step Process: Take It Slow
Step 1: Clean and Sand
Thoroughly clean the scratch and the surrounding area with a cleaner to remove dirt, grease, and wax. Then sand the damaged area – start with coarse sandpaper to smooth out any rough edges and unevenness from the scratch, then switch to fine sandpaper to create a smooth transition between the repair area and the original paint.
Note: Apply even pressure while sanding. Don't focus only on the scratch itself – expand the sanding area slightly so the new paint adheres properly.
Step 2: Mask Off Surrounding Areas
Use masking tape and paper to carefully cover the areas around the scratch that don't need painting. The more careful you are with this step, the less cleanup you'll have later. Make sure to protect headlights, windows, and chrome trim.
Step 3: Mix the Paint (If Needed)
If you bought a complete touch-up kit, the paint is usually already mixed to match your color code and ready to use. If you need to mix it yourself, follow the ratios precisely and test the color on a small area first.
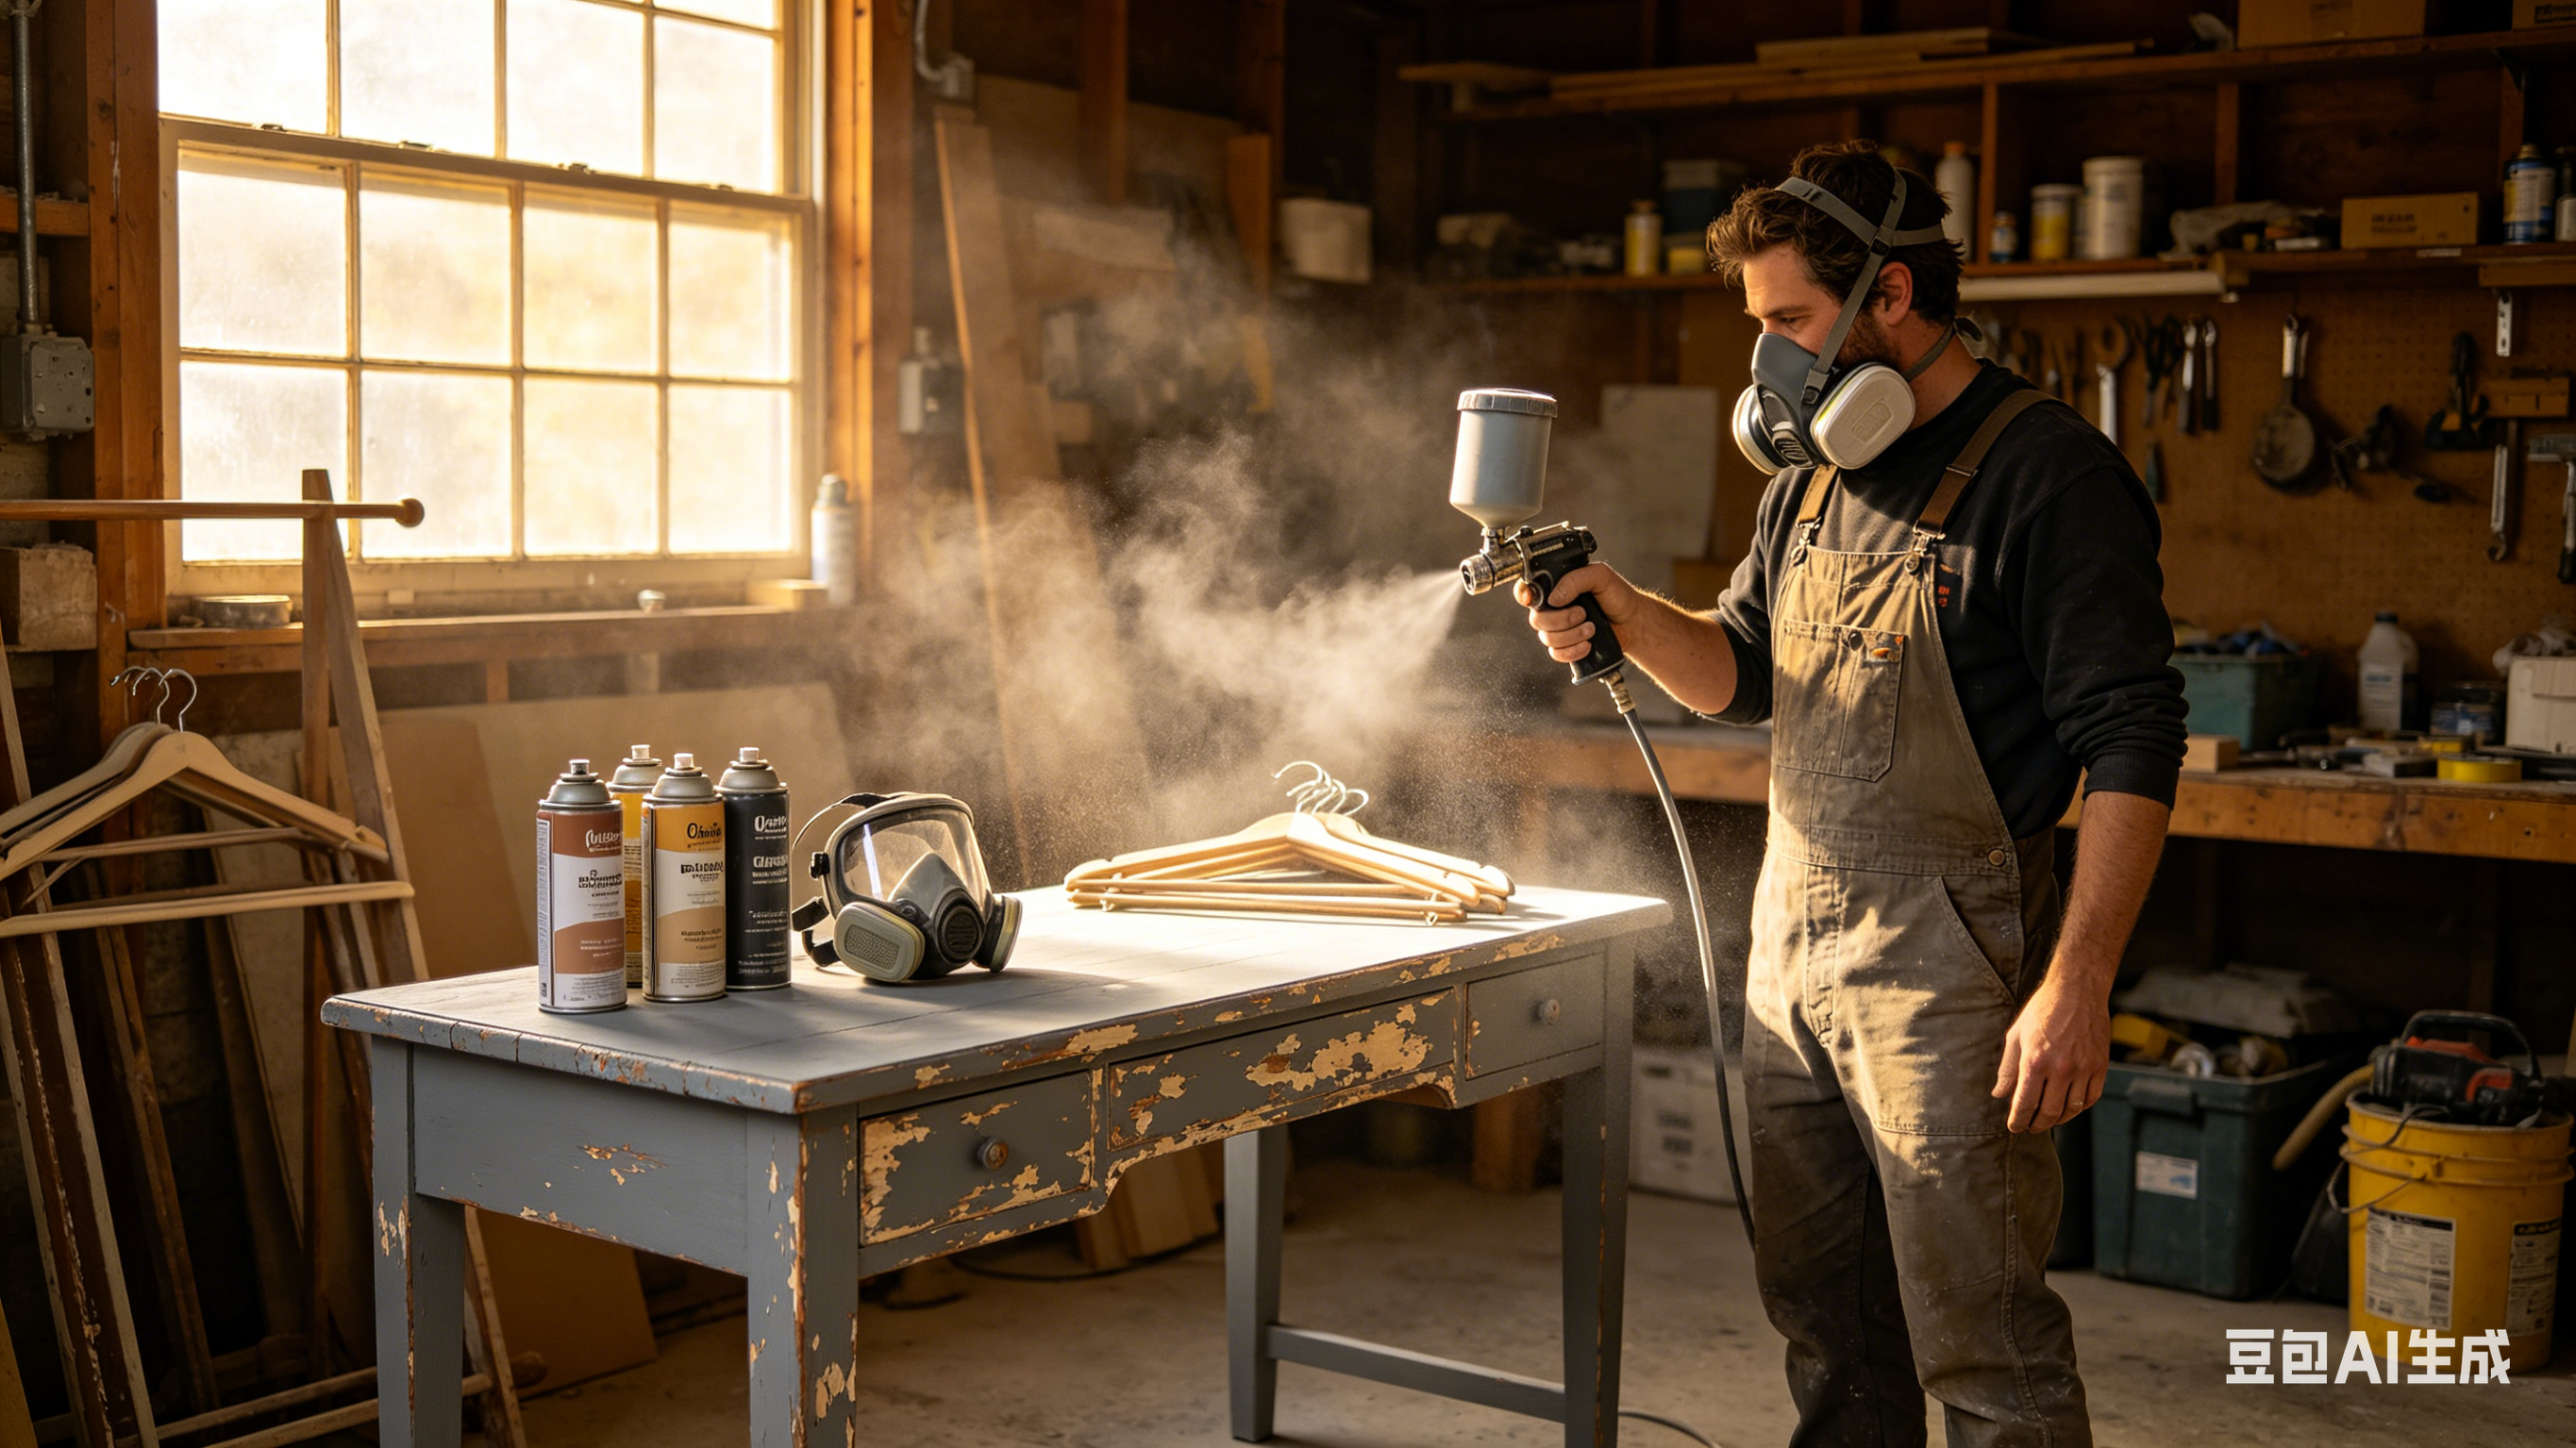
Step 4: Adjust the Spray Gun and Apply Paint
This is the most technically demanding part of the entire process.
Spray Gun Adjustment: Adjust the air pressure and paint flow. Too much pressure creates an orange peel effect; too little causes uneven flow.
Spraying Technique: Hold the spray gun about 15–20 cm (6–8 inches) from the surface, move it vertically and smoothly, and overlap each pass by about half the width of the previous one.
Golden Rule: Apply thin coats, many times. Never try to cover the scratch in one go – that will only cause runs. Here's the correct approach: apply a thin first coat, wait 5–10 minutes for it to tack up, then apply a second coat. Repeat this 3–5 times until the new paint sits slightly above the level of the original surrounding paint.
Step 5: Let It Dry
Drying takes patience. Primer takes about 10–15 minutes to dry. The color coat needs 30–60 minutes to dry completely. The final clear coat may take 2–4 hours or even longer to fully cure. Avoid getting it wet or touching it during this time.
Step 6: Sand and Polish
After the paint is completely dry, if the surface isn't smooth or has some texture, gently wet-sand it with 2000–3000 grit sandpaper. Then use a polishing machine and compound to restore the gloss and blend the repaired area with the original paint.
4. Common Mistakes and How to Fix Them
First-timers often run into problems. Here are the most common ones:
| Issue | Cause | Fix |
|---|---|---|
| Runs/Sags | Coats too thick or gun too close | Light runs: sand and polish after drying. Severe: repaint |
| Orange Peel | Wrong air pressure/paint flow, or improper distance | Polish after drying. If that doesn't work, sand and repaint |
| Color Mismatch | Paint color not mixed accurately | Test color before painting. If already mismatched, remix and repaint |
| Rust Underneath | Rust not removed before painting | Remove rust thoroughly before applying primer |
Final Thoughts
Using a spray gun for DIY touch-ups is indeed more complex than using a touch-up pen, but the results are much closer to a professional finish. If it's your first time, practice on an inconspicuous scratch before moving on to more visible areas.
The most important mindset: Don't expect to get it right on the first try. Even professional painters have practiced countless times to master their skill. Just follow the steps patiently. If you mess up, sand it down and start over. When you see your beloved car looking like new again, the sense of achievement is something no repair shop can give you.
If the scratch is very deep, covers a large area, or you just don't have confidence in your skills – leave it to the professionals. Some money is still worth spending.