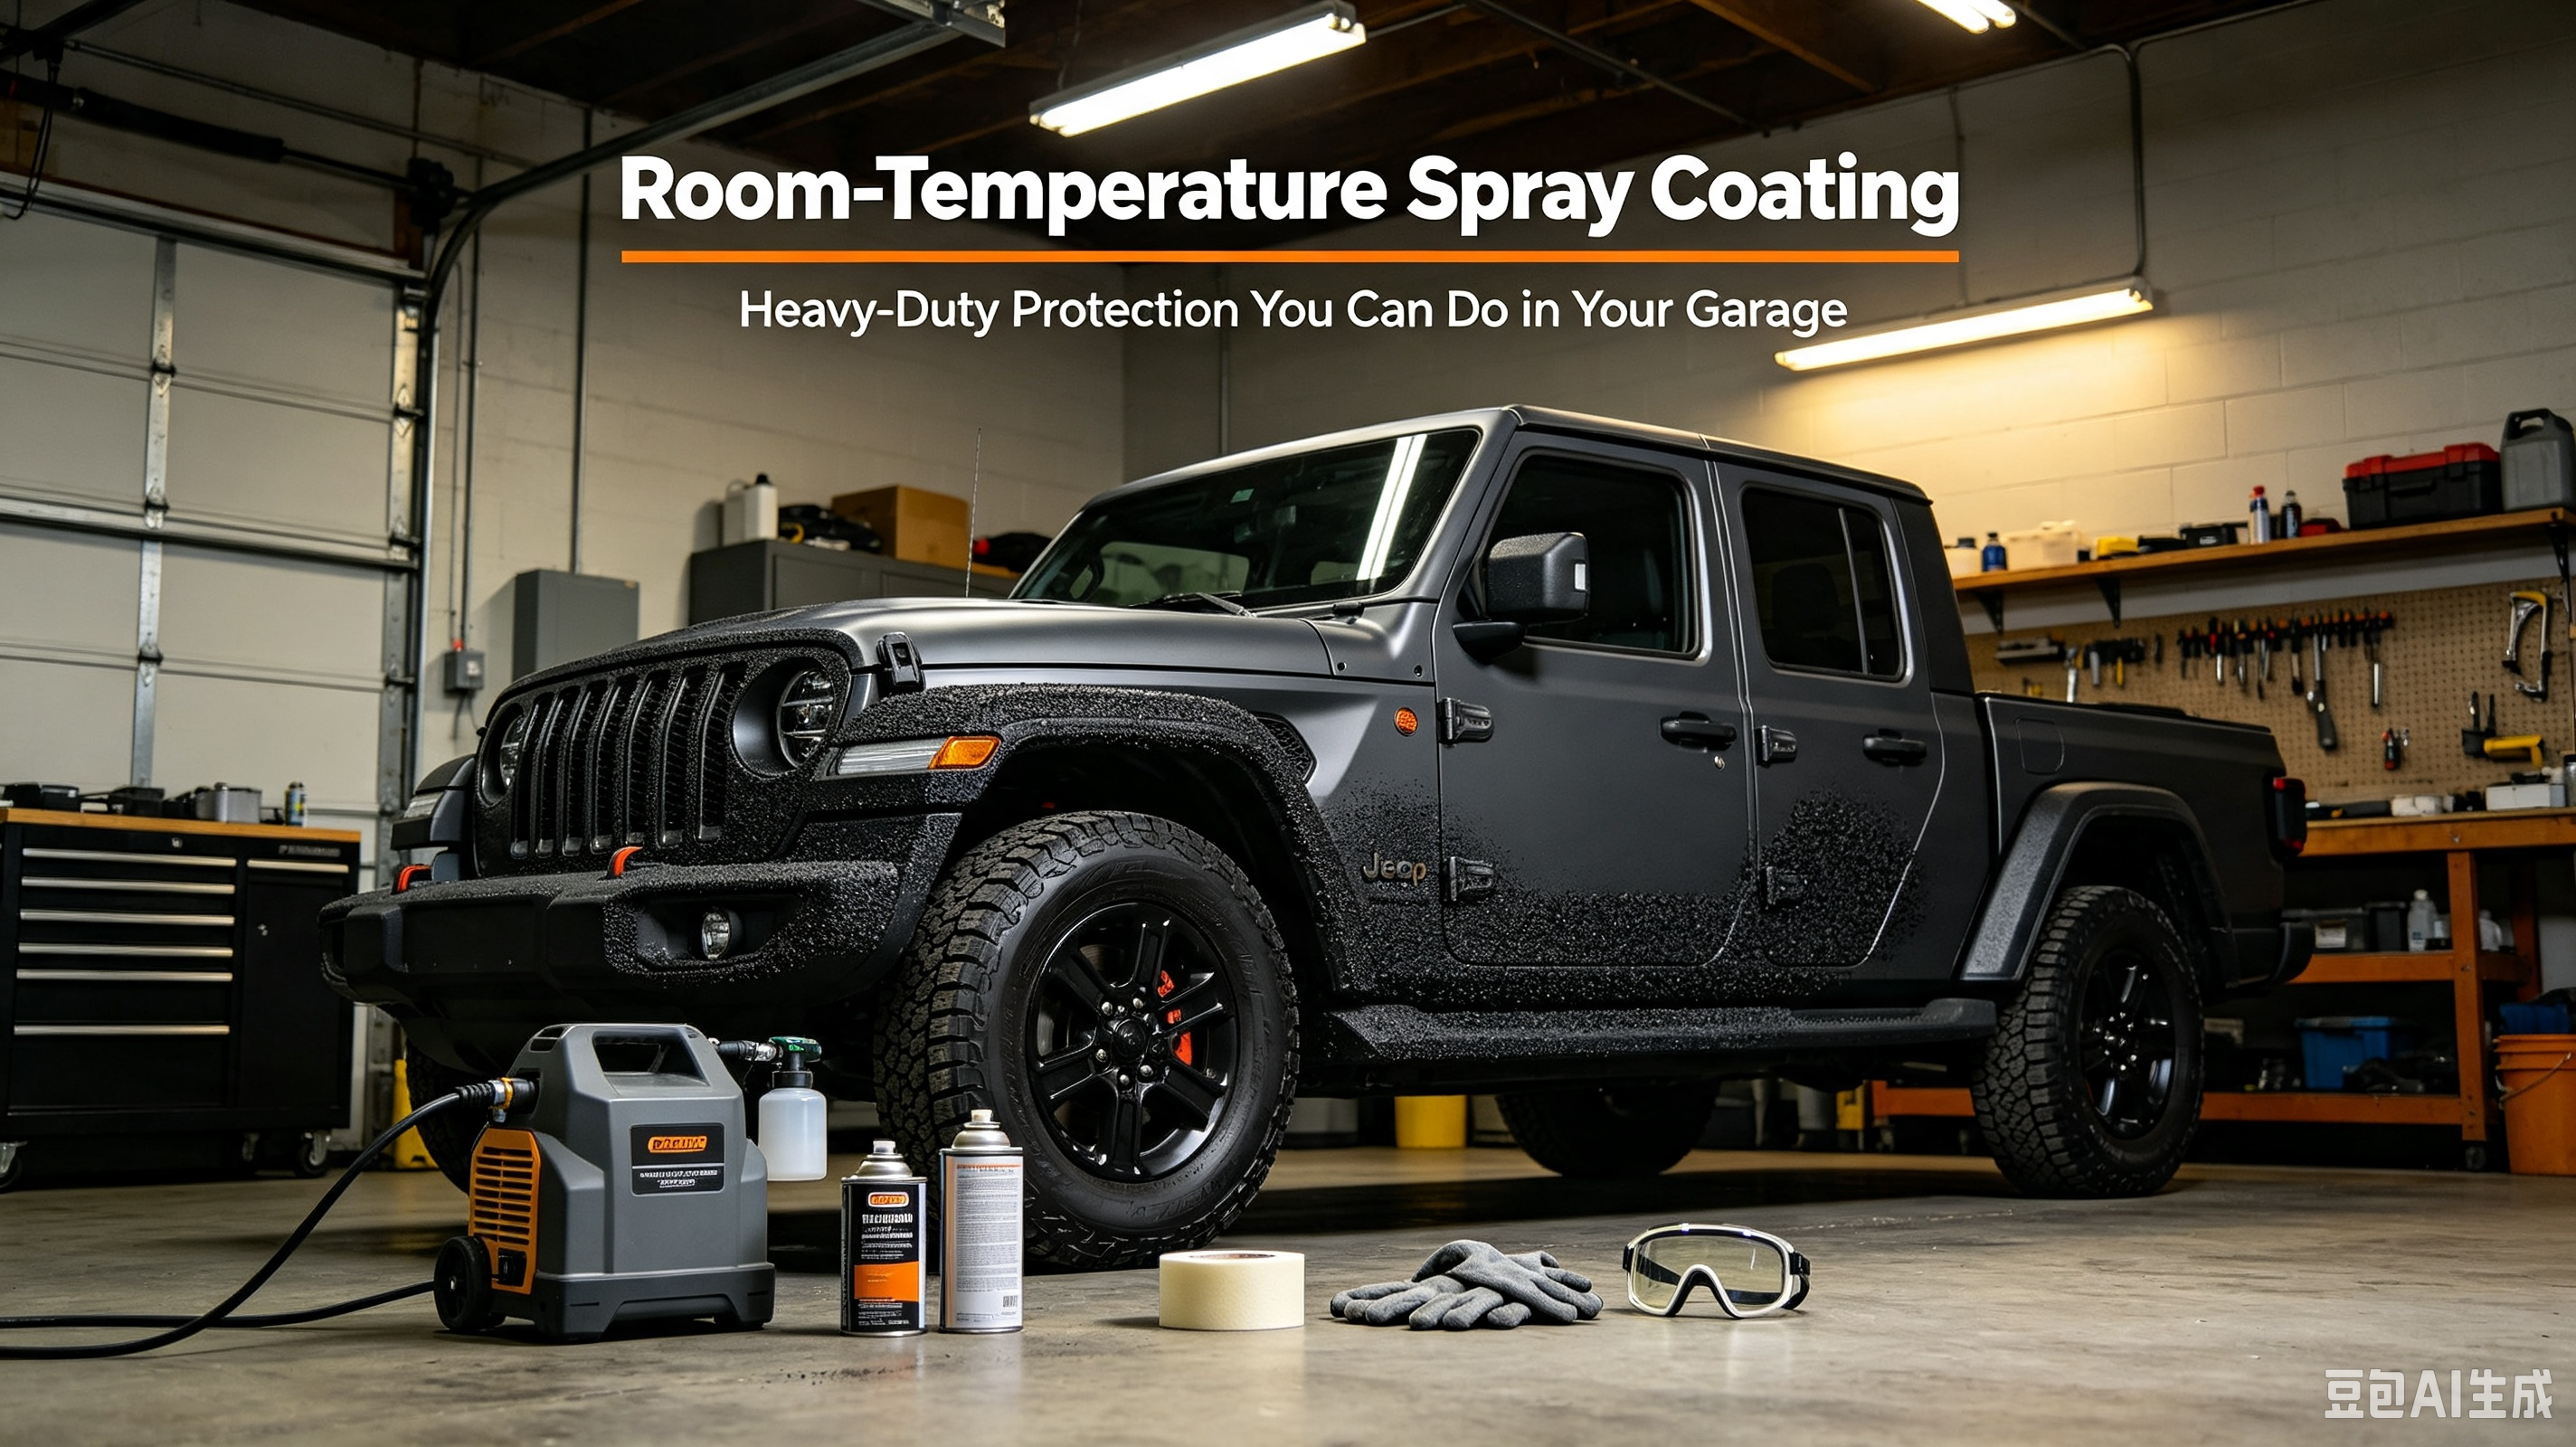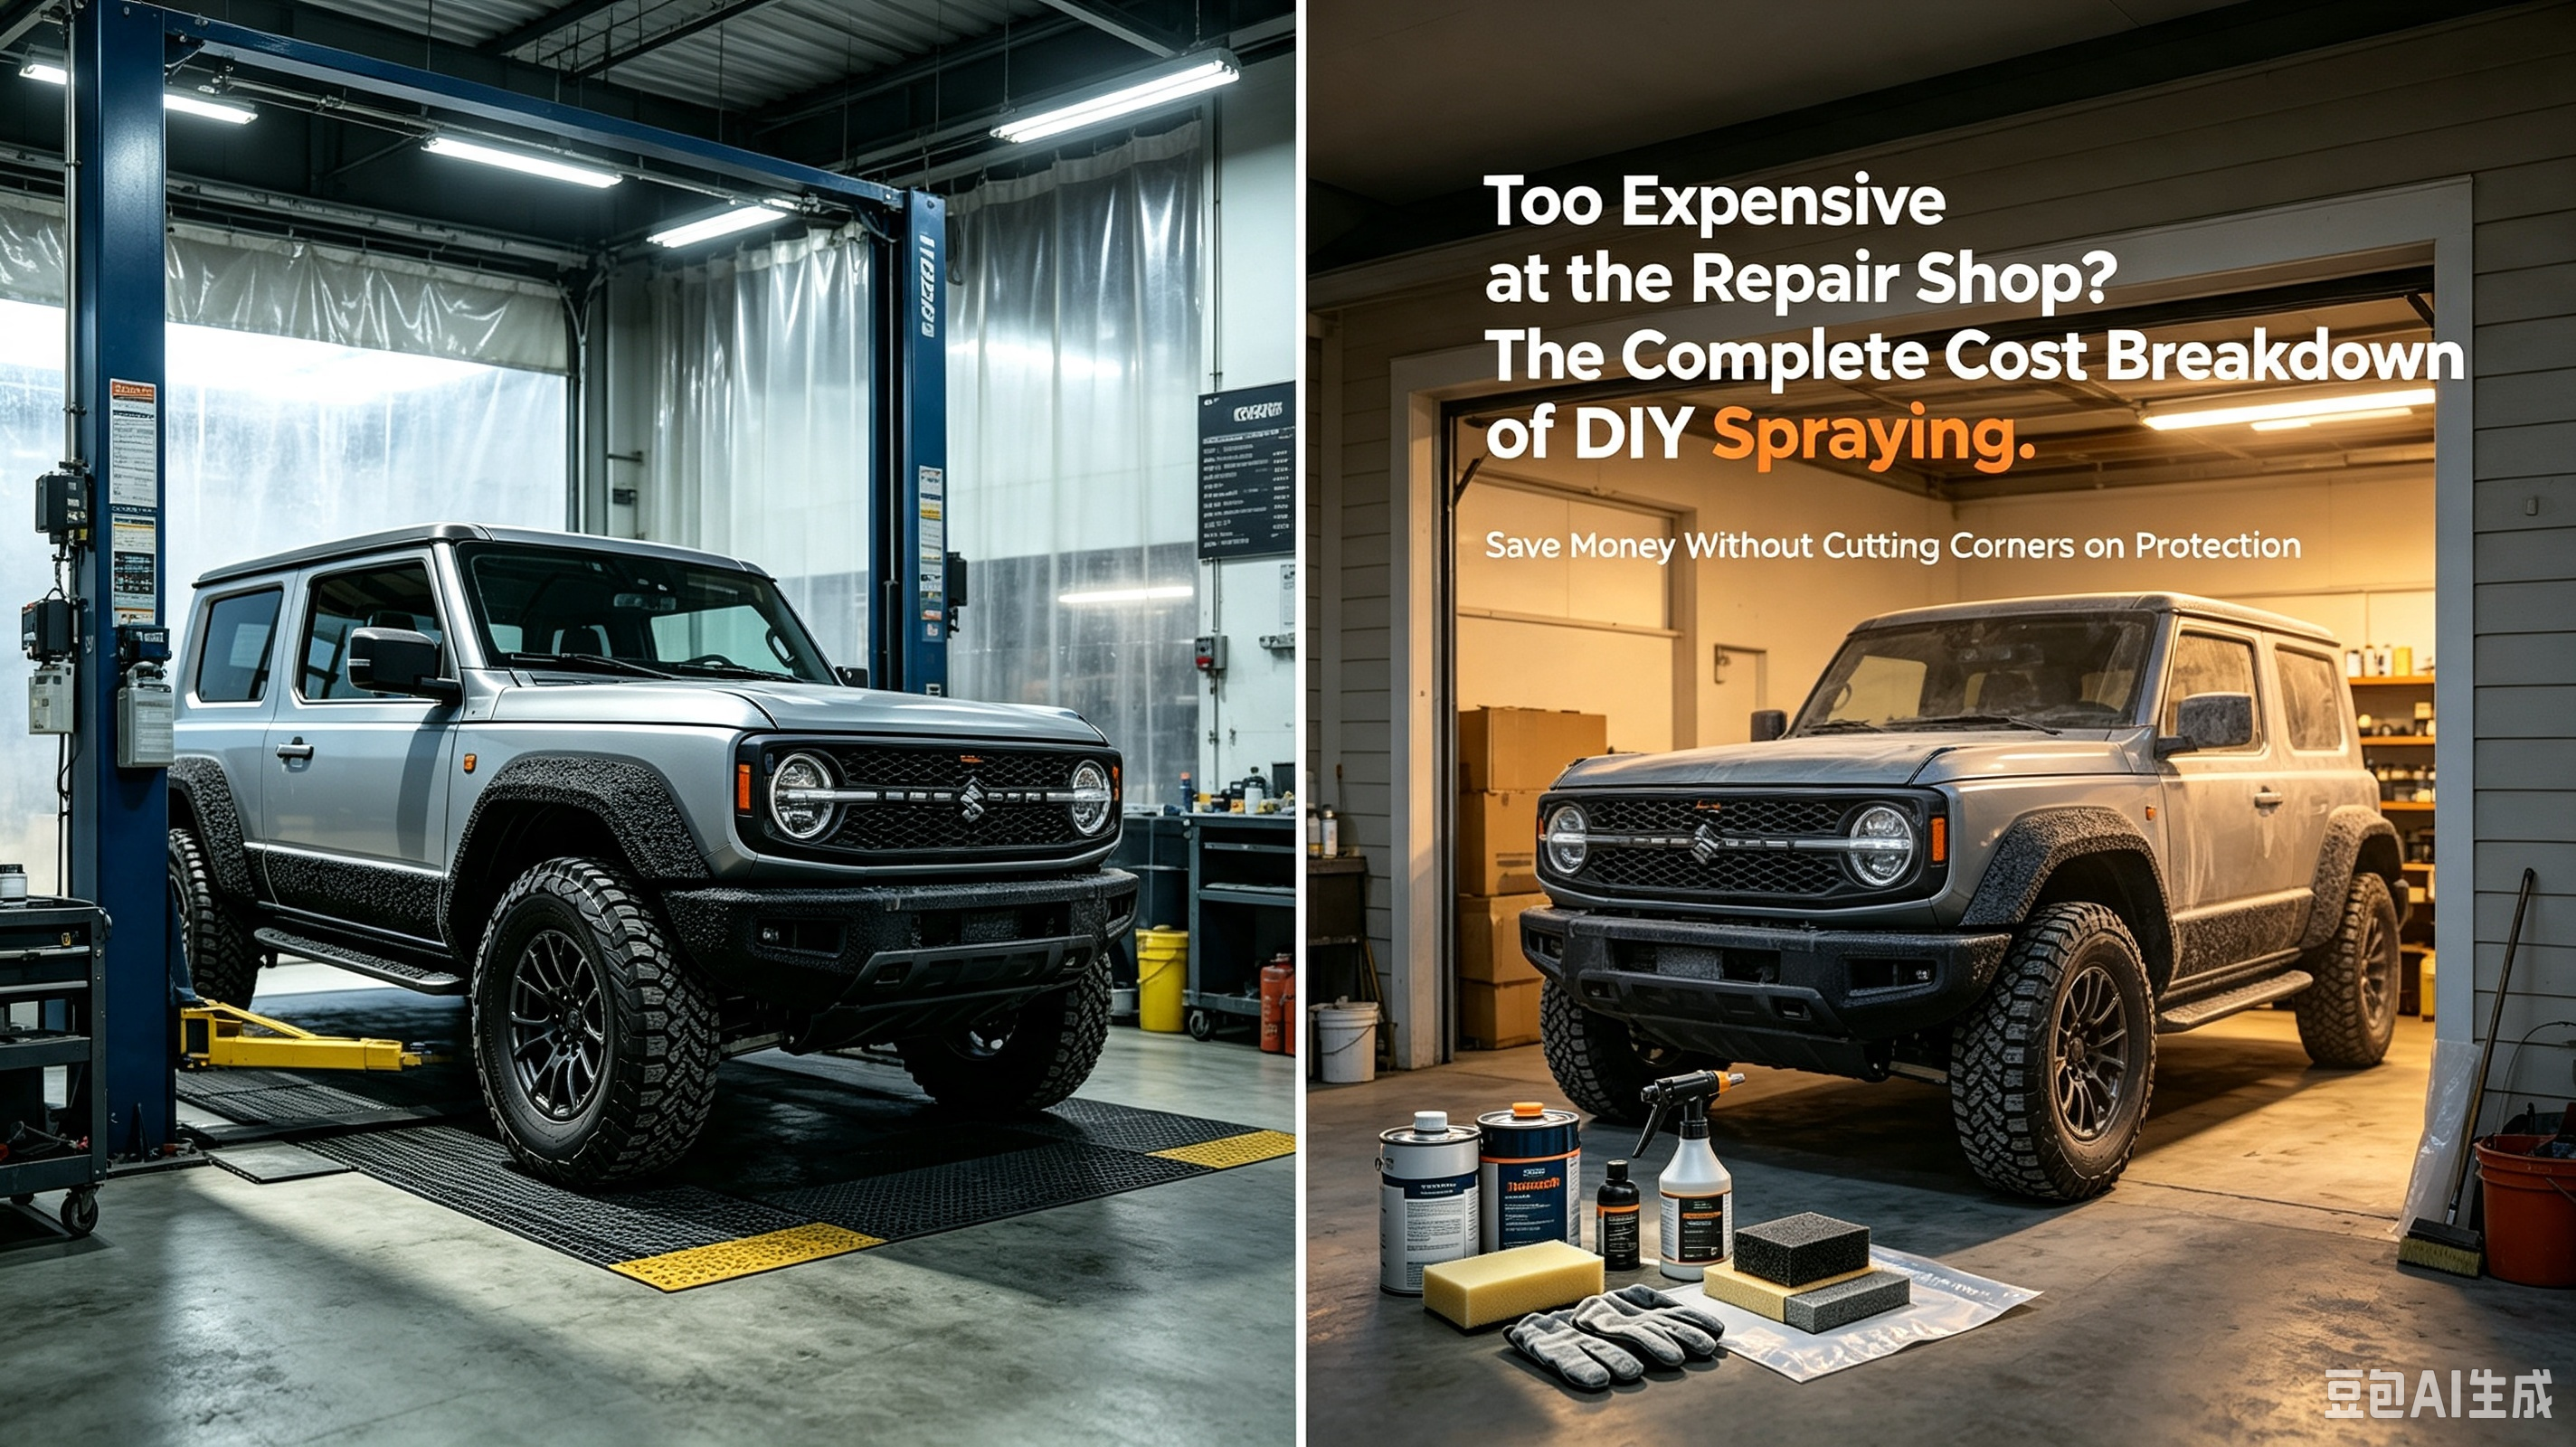

Every time you come back from an off-road trip, seeing those white scratches on the side from branches and dents on the underbody from rocks—it hurts. You ask around at repair shops, and spraying just one underbody panel starts at 300-500 RMB. Doing the whole car? That's even more out of reach. Every off-road enthusiast knows this struggle.
But here's something you might not know—DIY bedliner coating can cost just a few hundred RMB for full-vehicle protection, and the results can match what you'd get from a repair shop. In this article, I'll break down the costs, materials, and step-by-step process for you.
The Math: Repair Shop vs. DIY
| Comparison | Repair Shop | DIY (First Time) | DIY (From 2nd Time Onward) |
|---|---|---|---|
| Labor | 300-500 RMB/panel | 0 RMB | 0 RMB |
| Materials | 100-200 RMB (marked up) | 40-80 RMB (you buy it) | 40-80 RMB |
| Equipment Investment | 0 RMB (shop's gear) | 550-900 RMB (spray gun) | 0 RMB |
| Cost Per Use | 300-500 RMB | ~600-1,000 RMB | ~50-90 RMB |
💡 Bottom line: You break even after just 2-3 uses. After that, each DIY session costs only 1/5 to 1/6 of what the repair shop charges.
What Is Bedliner/Armor Coating and Why Does Your Off-Road Vehicle Need It?
Bedliner coating, also known as undercoating or truck bed liner, is a highly elastic, anti-corrosion spray-on material. Once cured, it forms a tough, thick protective film that effectively shields the body from moisture, salt, and rock impacts.
For off-road vehicles, this stuff is literally a "bulletproof vest":
-
Impact resistance: Flying rocks chip ordinary paint, but bedliner coating bounces them right off
-
Scratch resistance: Branches and rocks leave marks on the coating, not on your primer
-
Corrosion protection: Mud, road salt, and acid rain can't reach the metal underneath
-
Noise reduction: Sprayed on the underbody and wheel wells, it effectively dampens the sound of gravel hitting the chassis
Material Checklist: What You'll Need
Basic Materials
| Material | Quantity | Price (RMB) | Notes |
|---|---|---|---|
| Bedliner/Armor Coating | As needed | 20-40 RMB/can | Brands like Herculiner, Raptor. White is easier for custom coloring |
| Color Paint (optional) | 2-3 bottles | 8-16 RMB/bottle | Used to tint the bedliner to your preferred color |
| Matte/Gloss Topcoat | 1 bottle | ~8 RMB | Final protective layer; matte gives a more textured "grip" feel |
| Sandpaper (400-1000 grit) | 2-3 sheets | 2-5 RMB/sheet | For surface prep and adhesion |
| Masking Tape + Paper | 1 set | 10-20 RMB | To protect areas you don't want to spray |
Total material cost: ~80-150 RMB (for one vehicle)
Equipment Options
| Option | Equipment | Price | Best For |
|---|---|---|---|
| Option A: Spray Can | Self-contained bedliner aerosol | No extra equipment needed | Small touch-ups, spot repairs |
| Option B: Cordless Spray Gun | Battery-powered spray gun | 500-1,500 RMB | Outdoor/no-power scenarios, home multi-use |
| Option C: Compressor + Spray Gun | Air compressor + professional gun | 1,000-3,000 RMB | Full-vehicle, large-scale jobs |
If you only spray occasionally, a spray can is enough. If you plan to do this long-term, a cordless spray gun is worth the investment — no power cord, no heavy compressor to lug around — spray anywhere, anytime.
Step-by-Step Application Guide
Step 1: Cleaning (The Make-or-Break Step)
Lift the vehicle (or use jack stands) and blast off caked-on mud and grease with a pressure washer. Pay special attention to welds, crossmembers, and other spots where dirt hides. After washing, blow out all crevices with compressed air, then let it air-dry for at least half an hour.
⚠️ If you skip this step, the bedliner won't adhere properly — it'll peel and flake later, and you'll have wasted all that effort.
Step 2: Masking (What Separates a Pro Job from a Mess)
Use masking tape and paper to cover everything you don't want to spray:
| Critical Areas to Mask | Why |
|---|---|
| Exhaust pipes | High heat — coating will smoke or even catch fire |
| Shock absorbers | Affects heat dissipation and rubber lifespan |
| Brake lines | Safety-critical components — keep them bare |
| Driveshaft | Affects rotational balance |
| Bolt heads and drain plugs | If covered, you won't be able to remove them later |
| Radiator | Blocked fins = overheating |
| Sensor wiring harnesses | Could interfere with signals |
💡 Pro tip: Run the tape along the body lines for a clean, "factory-like" edge.
Step 3: Sanding (Enhances Adhesion)
Lightly sand the entire surface you're going to spray. You don't need to sand down to bare metal — just rough up the smooth clear coat so the bedliner has something to grip onto.
After sanding, wipe off all dust and use a degreaser to ensure the surface is clean, oil-free, and moisture-free.
Step 4: Spraying (3 Coats — Don't Rush)
Bedliner must be applied in 2-3 thin coats, with 30 minutes between each coat:
-
First coat (base layer): Hold the gun 12-24 inches (30-60cm) away, move at a steady speed, and apply a light coat so the bedliner "bites" into the surface
-
Second coat (build layer): After the first coat is dry to the touch (~30 min), apply the second layer to build thickness
-
Third coat (texture layer): For a coarse, grippy texture, apply thicker; for a smoother finish, apply lighter
⚠️ Pro tip: Before spraying the actual surface, test-spray a piece of cardboard to make sure the pattern is even. Also, start the spray off the workpiece and then sweep onto it to avoid spitting an uneven blob at the start.
Step 5: Curing (Patience Is the Biggest Virtue)
-
Tack-free / Dry to the touch: 2-4 hours (you can touch it, but don't let it get wet)
-
Fully cured: At least 24 hours — no water exposure, no muddy roads during this time
-
For best results: Leave it overnight (24+ hours) before reassembling. Do not rush this step.
Advanced Tips: Give Your Coating More Character
Custom Color Mixing
Bedliner often comes clear or white. You can tint it with any color paint — for example, mixing 950ml of bedliner with 50ml of color paint gives you a custom shade that's uniquely yours.
Texture Control
-
For a rugged off-road look: Apply thick coats for a strong, textured "bulletproof vest" feel
-
For a smoother finish: Apply thin coats for a more refined, paint-like surface
Composite System (For Premium Results)
Some DIYers have shared an advanced approach: Spray bedliner (2-3 coats) → Let fully cure → Lightly sand surface dust → Apply color paint (2 coats) → Finish with matte clear coat. This gives you the protection of bedliner with the custom finish of a professional paint job.
Common Pitfalls & How to Avoid Them
| Problem | Cause | How to Avoid |
|---|---|---|
| Bedliner peeling off | Surface wasn't clean or sanded | Clean + sand + degrease — don't skip any of these three |
| Runs and sags ("teardrops") | Sprayed too thick in one pass | Apply 2-3 thin coats, 30 minutes apart |
| Spray gun clogged | Took a break mid-job | Clean the gun before stopping, or finish a whole can before pausing |
| Masking paper blew off | Didn't tape it down securely | Apply a strip of tape along the edges first, then add masking paper on top — double layer it |
| Rattling noise after reassembly | Sprayed something you shouldn't have | Mask off bolt heads and drain plugs during prep |
The "Do You Really Need to Sand?" Debate
There are two schools of thought online: some say "just wash it and spray," others insist "you must sand for proper adhesion."
My take: If the surface is smooth factory paint, sand it — a light pass with sandpaper doesn't take much time, but it'll make your bedliner last years longer. If the surface is already rough (e.g., touching up old bedliner), then a good wash may be enough.
Final Recommendations
Bedliner DIY is for you if you:
-
Go off-roading often and your vehicle takes a beating
-
Want to save money and avoid paying a repair shop hundreds every time
-
Enjoy the satisfaction of doing things yourself
-
Own a cordless spray gun (or are willing to buy one)
Better leave it to the pros if you:
-
Drive a high-end vehicle with "perfection or nothing" paint standards
-
Don't have the space or time for a full-day project
-
Don't want to take on the risk of trial and error
At the end of the day, bedliner coating isn't rocket science — patience is your most important tool. If you take the time to clean, mask, spray in thin layers, and let it fully cure, you'll be more than happy with the results. And the next time you come back from a trail run and see that new scratch on your bodywork, you can just smile and say: "No worries — I got this." 💪